Softmodding an Original Xbox
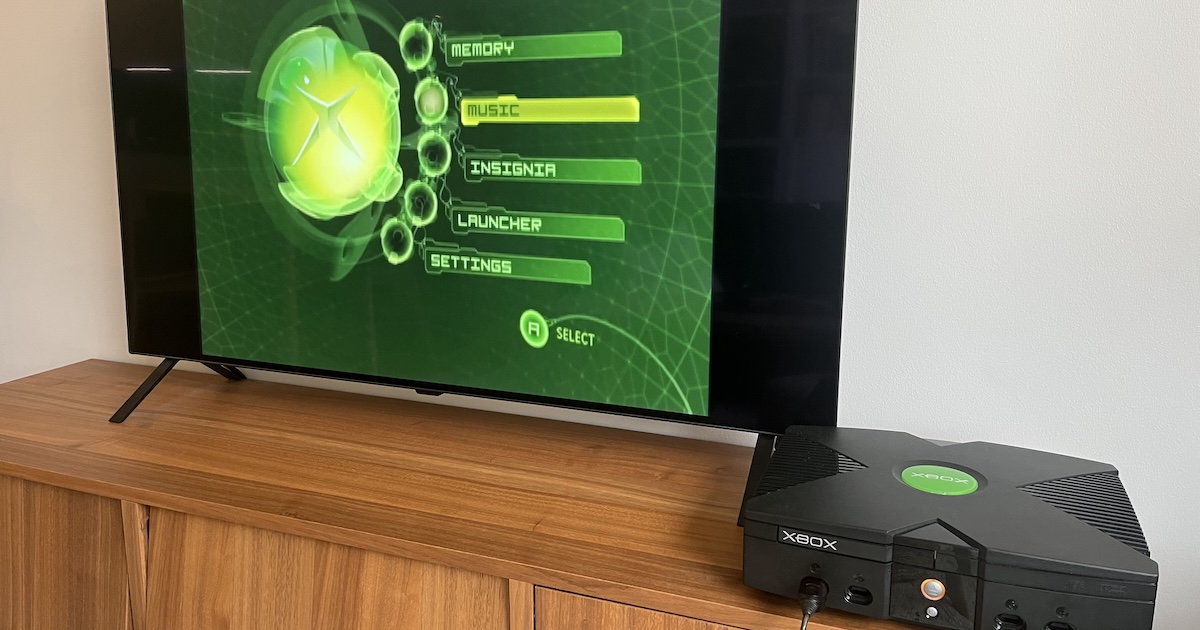
Since leaving my two Original Xboxes in storage and moving to Finland, I got the itch to play some Xbox games, and picked up a console on Tori (basically Craigslist) for 40€ (about $45).
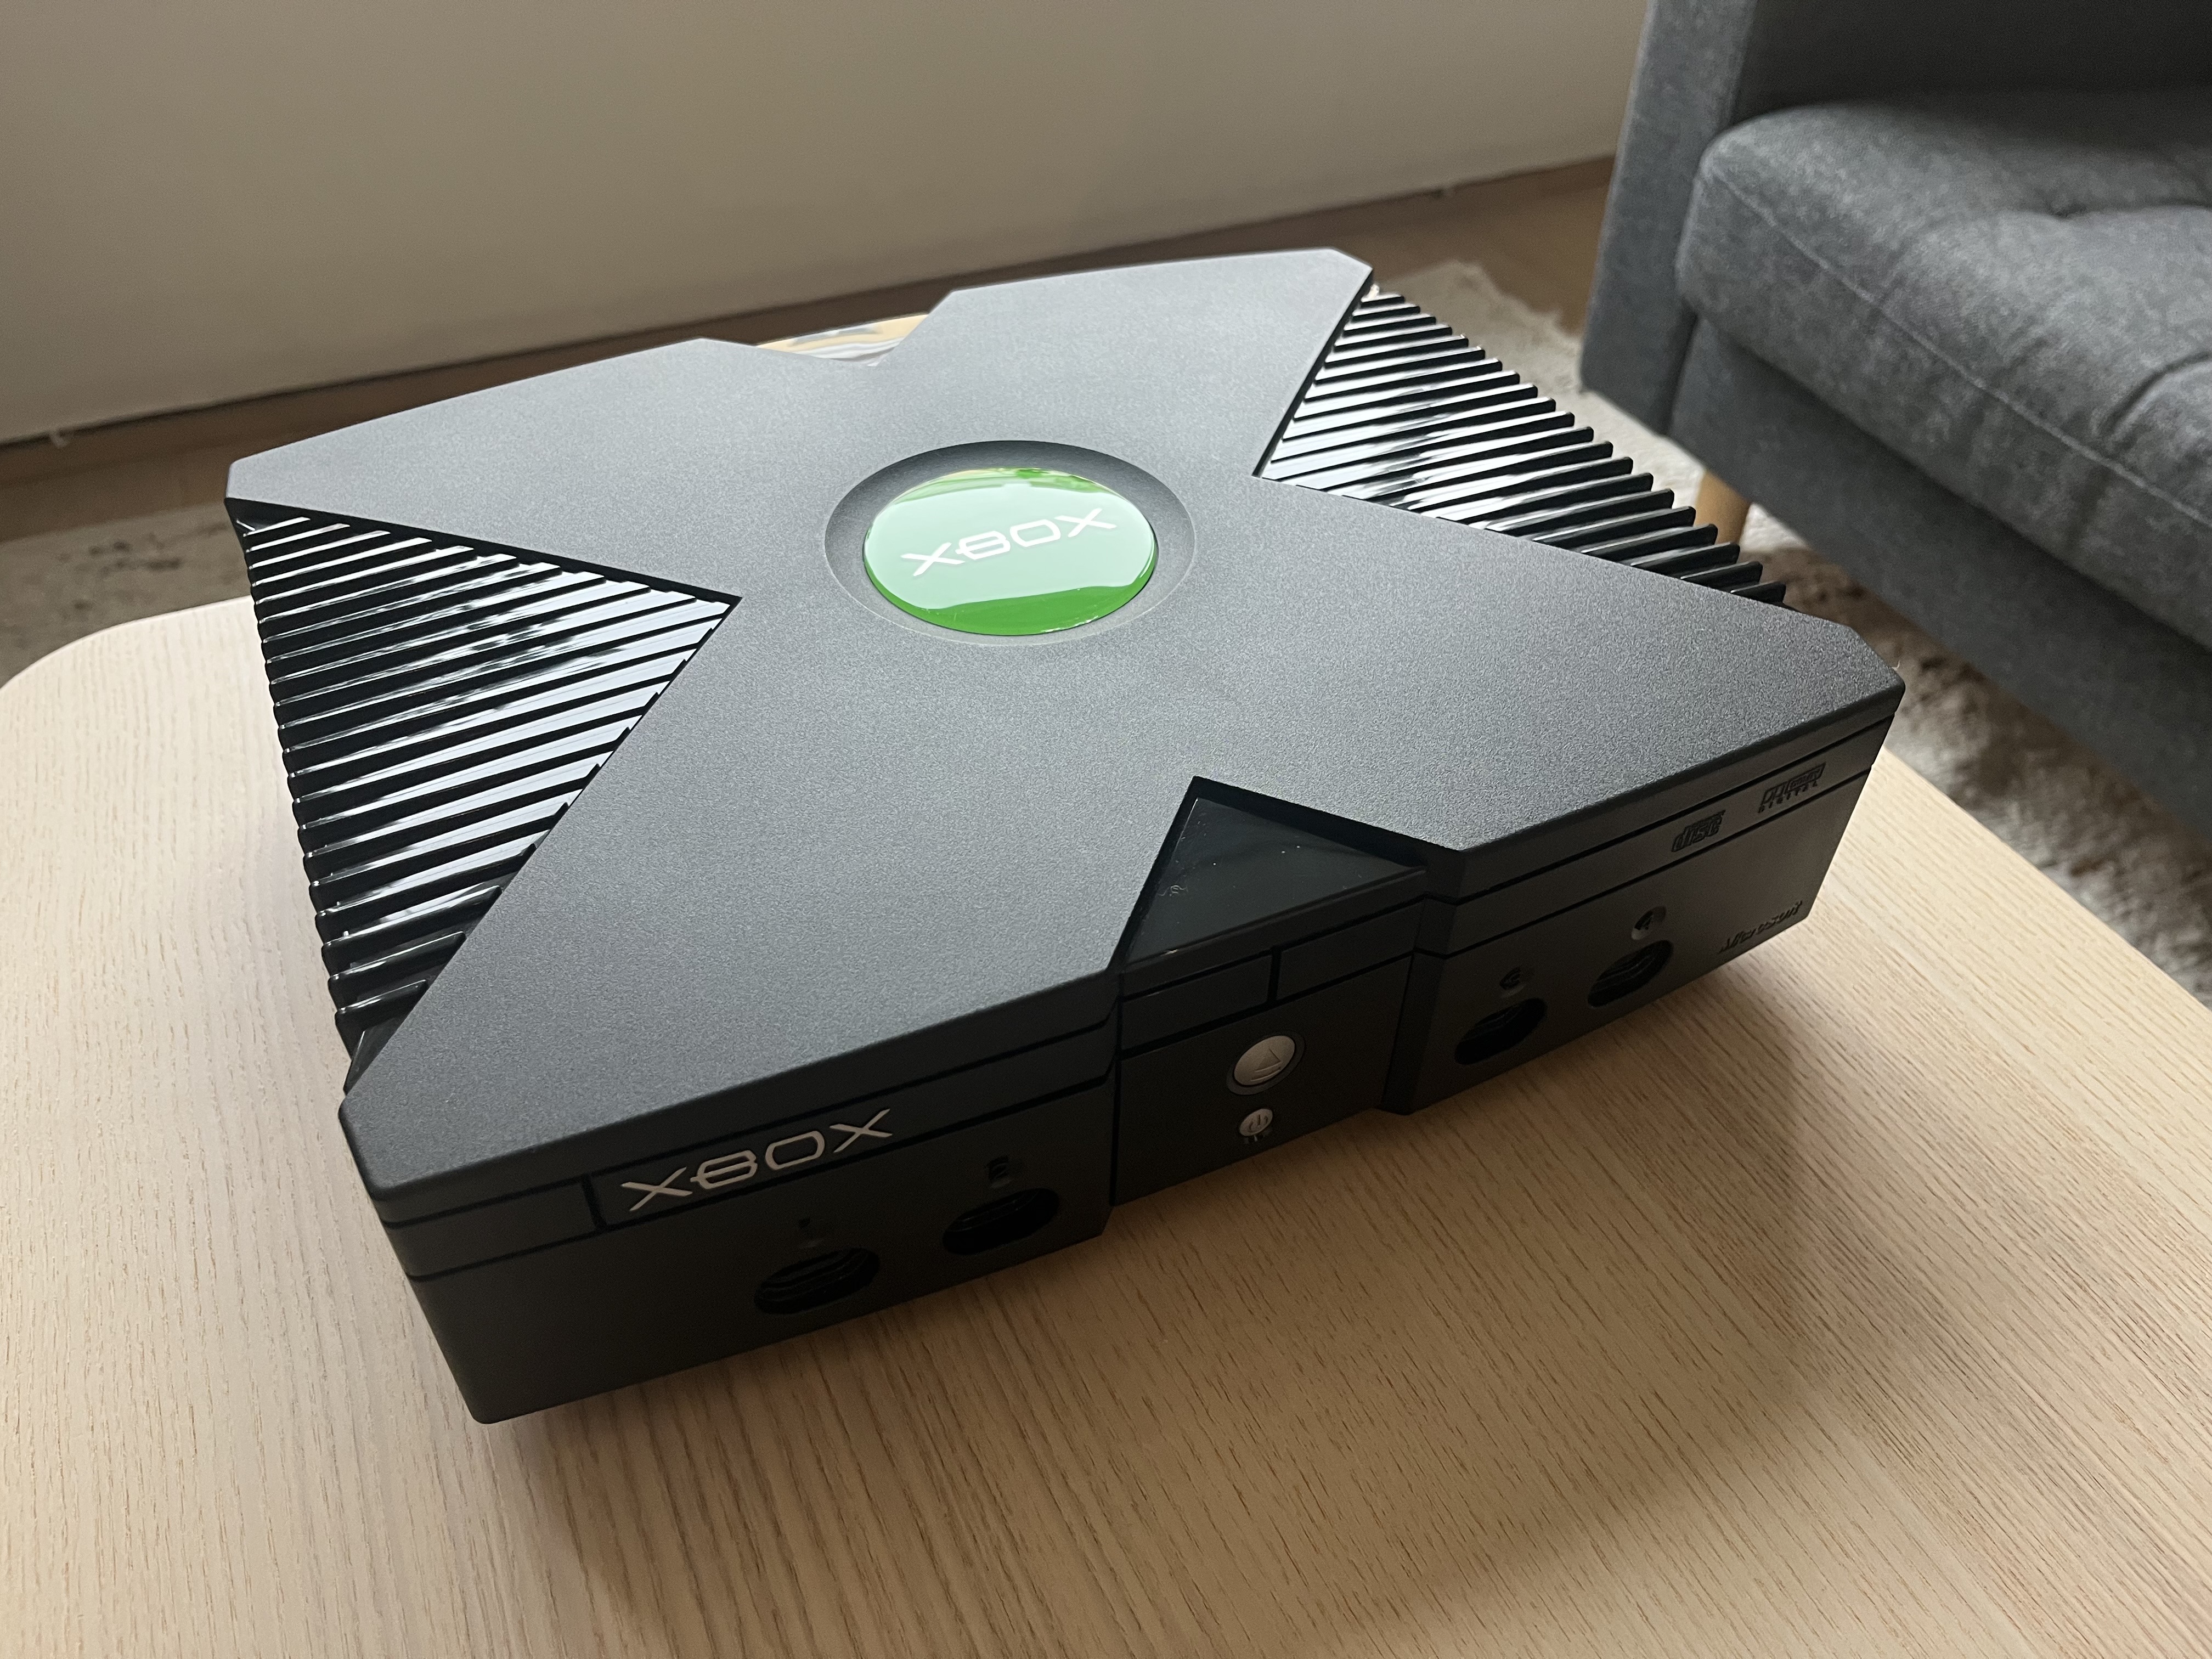
I planned to softmod it so I could:
- Play games online with Insignia
- Run backups of my NTSC games, because PAL games usually can’t run in 480p and stuff
- Swap the aging 8 GB hard drive for fresh storage hardware that isn’t liable to fail at any time
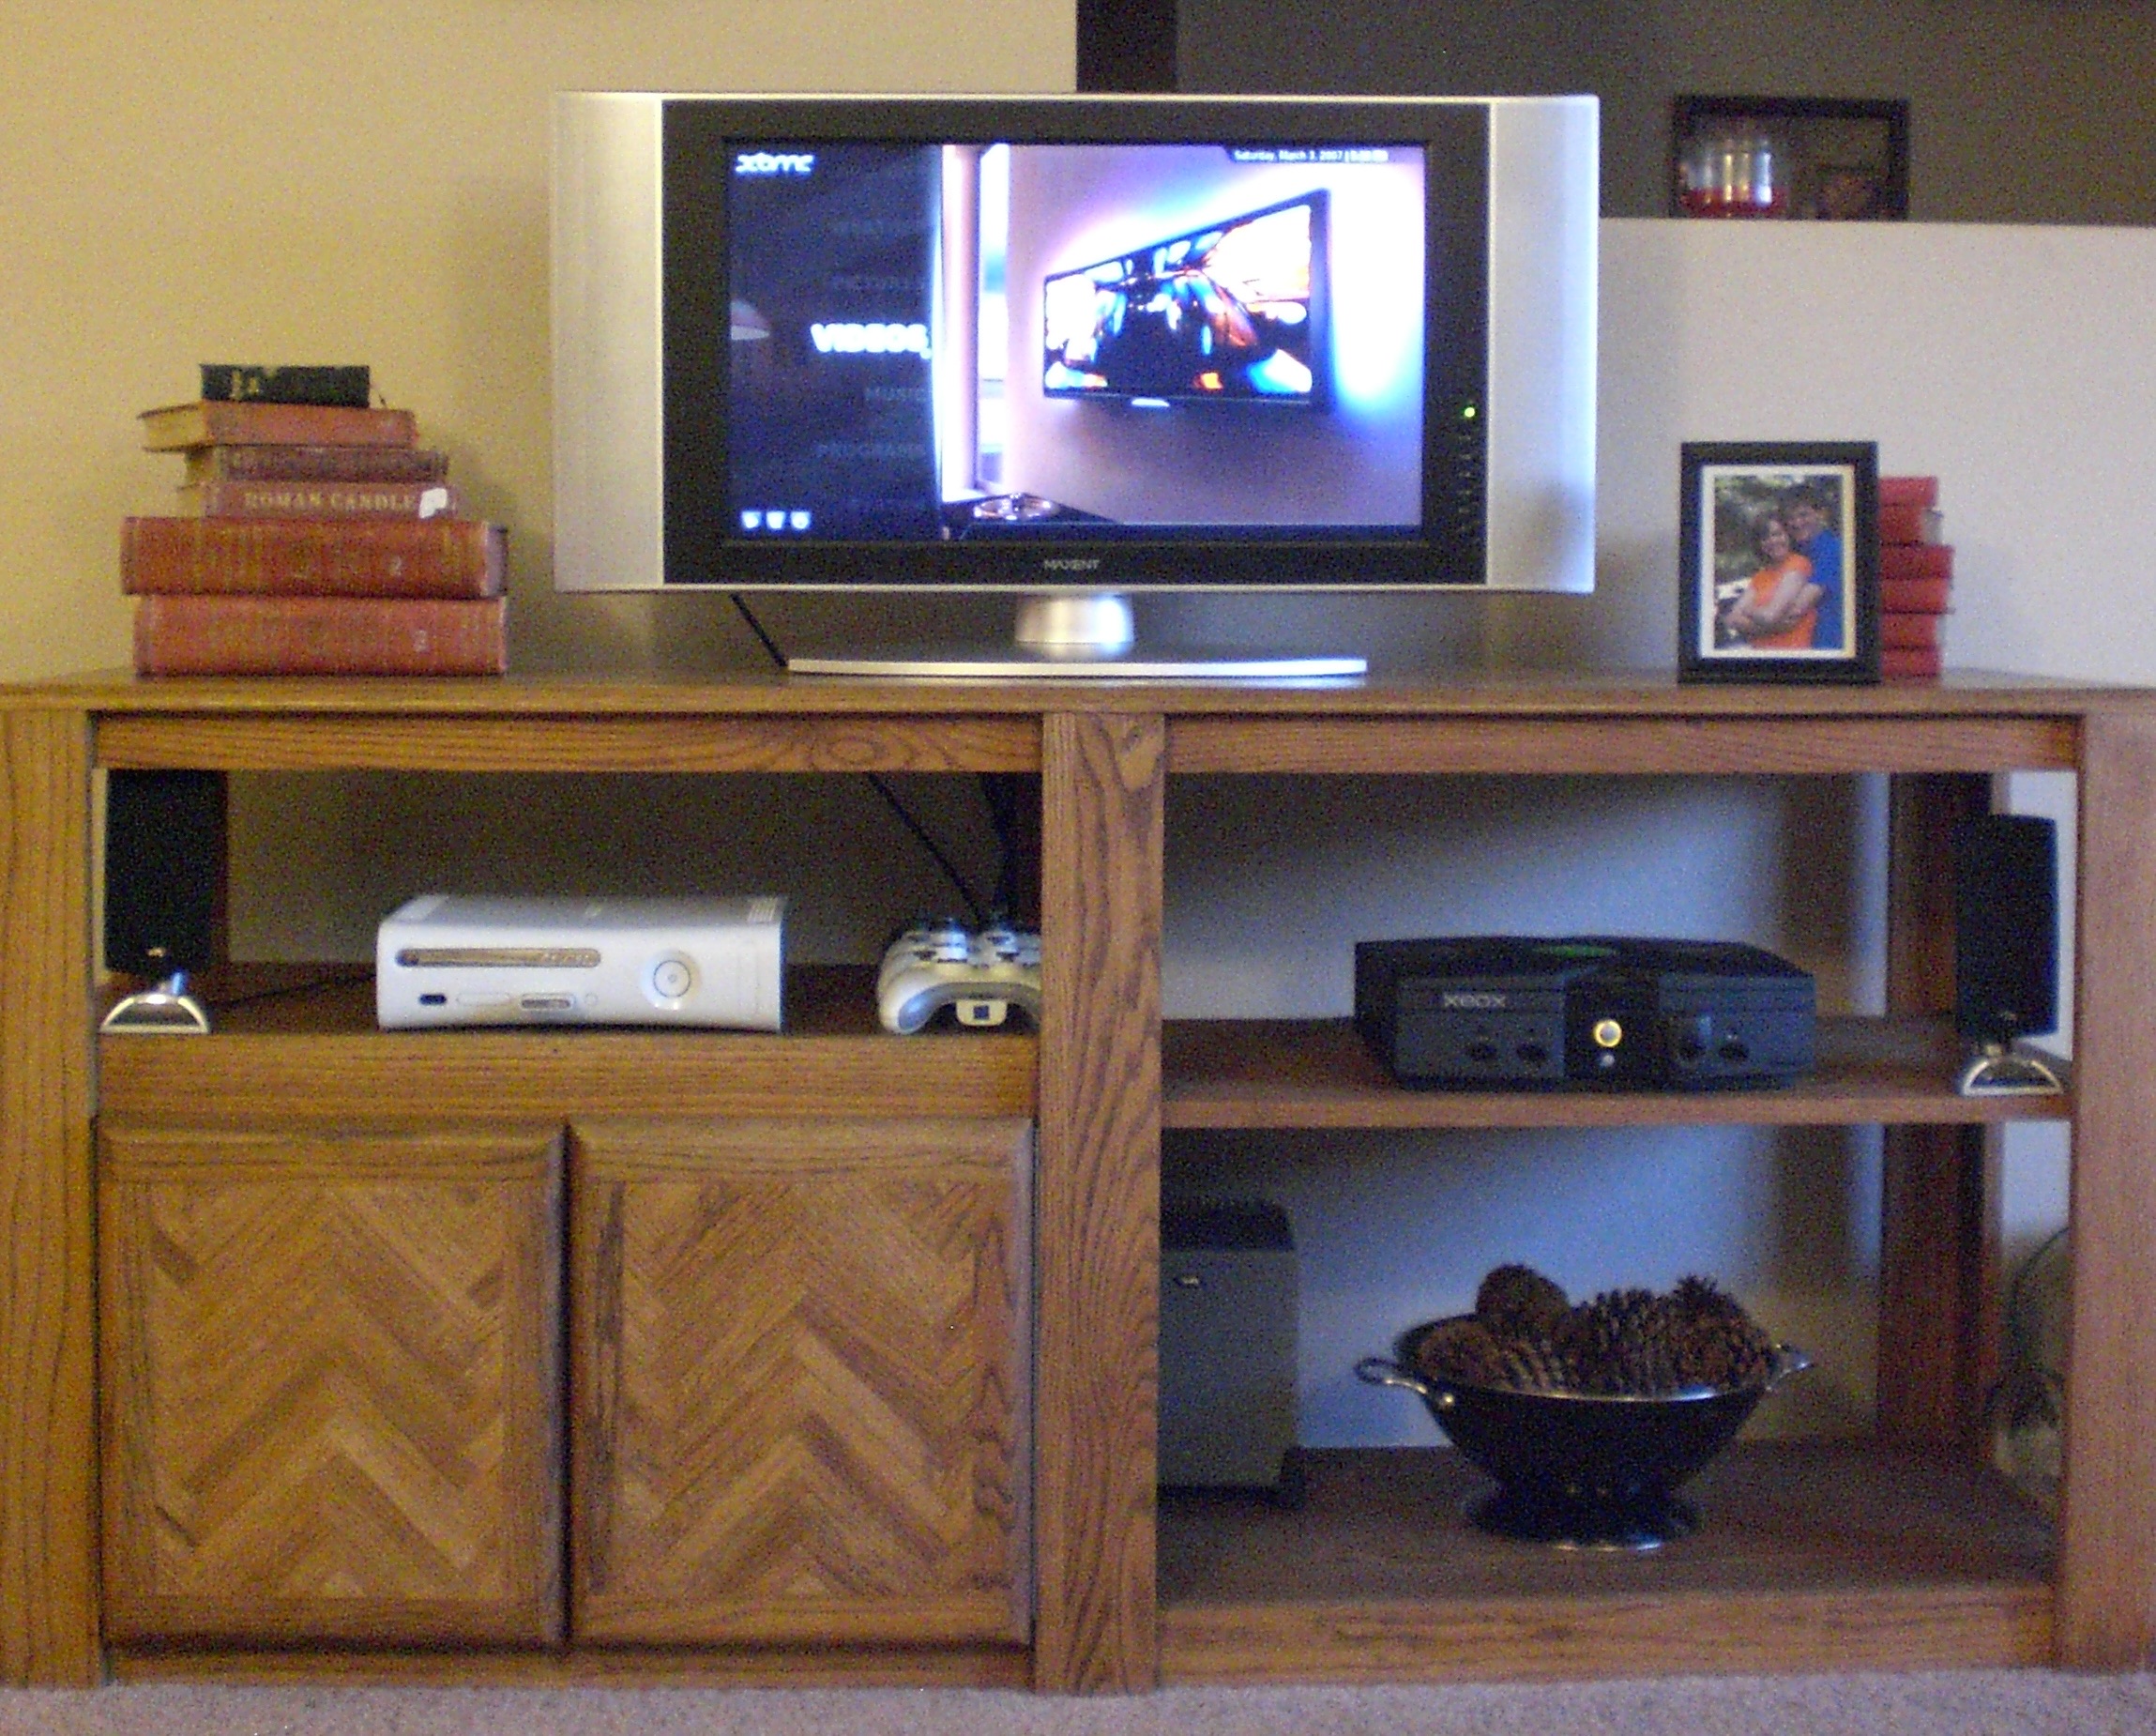
Back in 2011 or so, when you could pick up an Xbox at a garage sale for $10, I softmodded a couple of them primarily so they could run XBMC. The tools were all over the place, and the documentation never seemed complete or centralized. 15 years later in 2026, it seems like the tools are better, but the knowledge is still scattered all over the internet.
I didn’t manage to take careful notes while softmodding my Xbox, as it took some trial and error. As a result, this doesn’t read like a step-by-step guide, but is instead a collection of notes that I hope will help you softmod your Xbox. I also have some random notes along the way about things like thumbstick replacemenents.
First
Unless you have an Xbox version 1.6, get the clock capacitor out. If it hasn’t destroyed your motherboard, it will. Get it out right now.
Softmodding
Previously, it was nescessary to get a copy of Splinter Cell and use a save game exploit to launch the softmod. Today, this can be done with ENDGAME, which skips the game and exploits directly from the Memory menu in the stock dashboard. As a result, the only hardware you need is:
- An Xbox to USB adapter. I used this one from AliExpress, but you can get these in a variety of places.
- A compatible flash drive, which usually means that it’s older, or small capacity, of both. I used this one from AliExpress and it worked great, but you can check out a compatibility list to see if something rattling around in your desk drawer will work.
Rocky5’s Softmodding Tool
Rocky5’s Softmodding Tool seems to be the most popular one right now, and this YouTube short shows the process with minimal fluff.
Applications
Applications seem to always be called “default.xbe”, but if you place each application in F:\Applicatons\ inside it’s own subfolder, then dashboards will pick up the application, naming it with the folder name.
For example, the Insignia Setup Assistant itself is a “default.xbe”, so F:\Applications\Insignia Setup\default.xbe will appear as Insignia Setup in the Applications group in your dashboards.
Note: In UIX-Lite, you’ll need to go to Settings > UIX Settings > General Settings > Rescan Partitions to have it re-scan for Applications, Games, and Dashboards.
Insignia Setup Assistant
As the name suggests, this is used to set up Insignia.
Dashloader Customizer
Changes which dashboard starts by default. I used this to change the default dashboard from UnleashX back to the stock Microsoft dashboard, after it was patched with UIX-Lite.
Note: In the application, trying pressing Left on the d-pad if you can’t figure out what to do.
Chimp
This tool clones the contents of the original hard drive to a new storage device, all on your Xbox without having to use a computer. The idea is to start up Chimp, unplug the DVD drive, and connect your new storage device in place of it. Chimp copies everything over, expands the partitions to fill the empty space, and locks the drive with your original hard drive key.
Maybe I messed up, but Chimp only expanded my F drive to 127 GB, so I had to use another tool (XBPartitioner) to finish expanding the partition.
XBPartitioner
Rocky5’s mod lists “XBPartitioner” as an app you can run from UnleashX, but it’s not actually there; it’s actually just a message saying that you don’t need it. Well, Rocky5, as much as I appreciate you, I did in fact need it to expand my F partition after using Chimp.
Note: You’ll need to use the correct block size, depending on how large your hard drive is. XBPartitioner does a good job of handling this automatically, but if you need to understand exactly why the block size matter, check out this Reddit post.
Video Select 2
Since I’m in Finland, my Xbox is PAL, but I would much prefer to use NTSC video modes. This application writes a small change to the BIOS, changing the Xbox from PAL to NTSC video modes. After applying the change, the Xbox now has the exact same video options in the dashboard as my NTSC Xboxes back home. I’ve been using it with RetroTINK 2X-Classic and component cables at 480i, ending up with 480p on my European LG OLED TV.
Dashboards
After running the exploit, running Rocky5’s Softmodding Tool, you’ll get dropped into UnleashX. The hard drive will have C, D, E, and F partitions.
UIX-Lite
Rocky5’s softmod installs UnleashX, which is very full-featured, but I prefer the look and feel of the stock Microsoft dashboard. I was thrilled to find out about UIX-Lite, which patches the stock Microsoft dashboard so it can launch games, applications, and other dashboards.
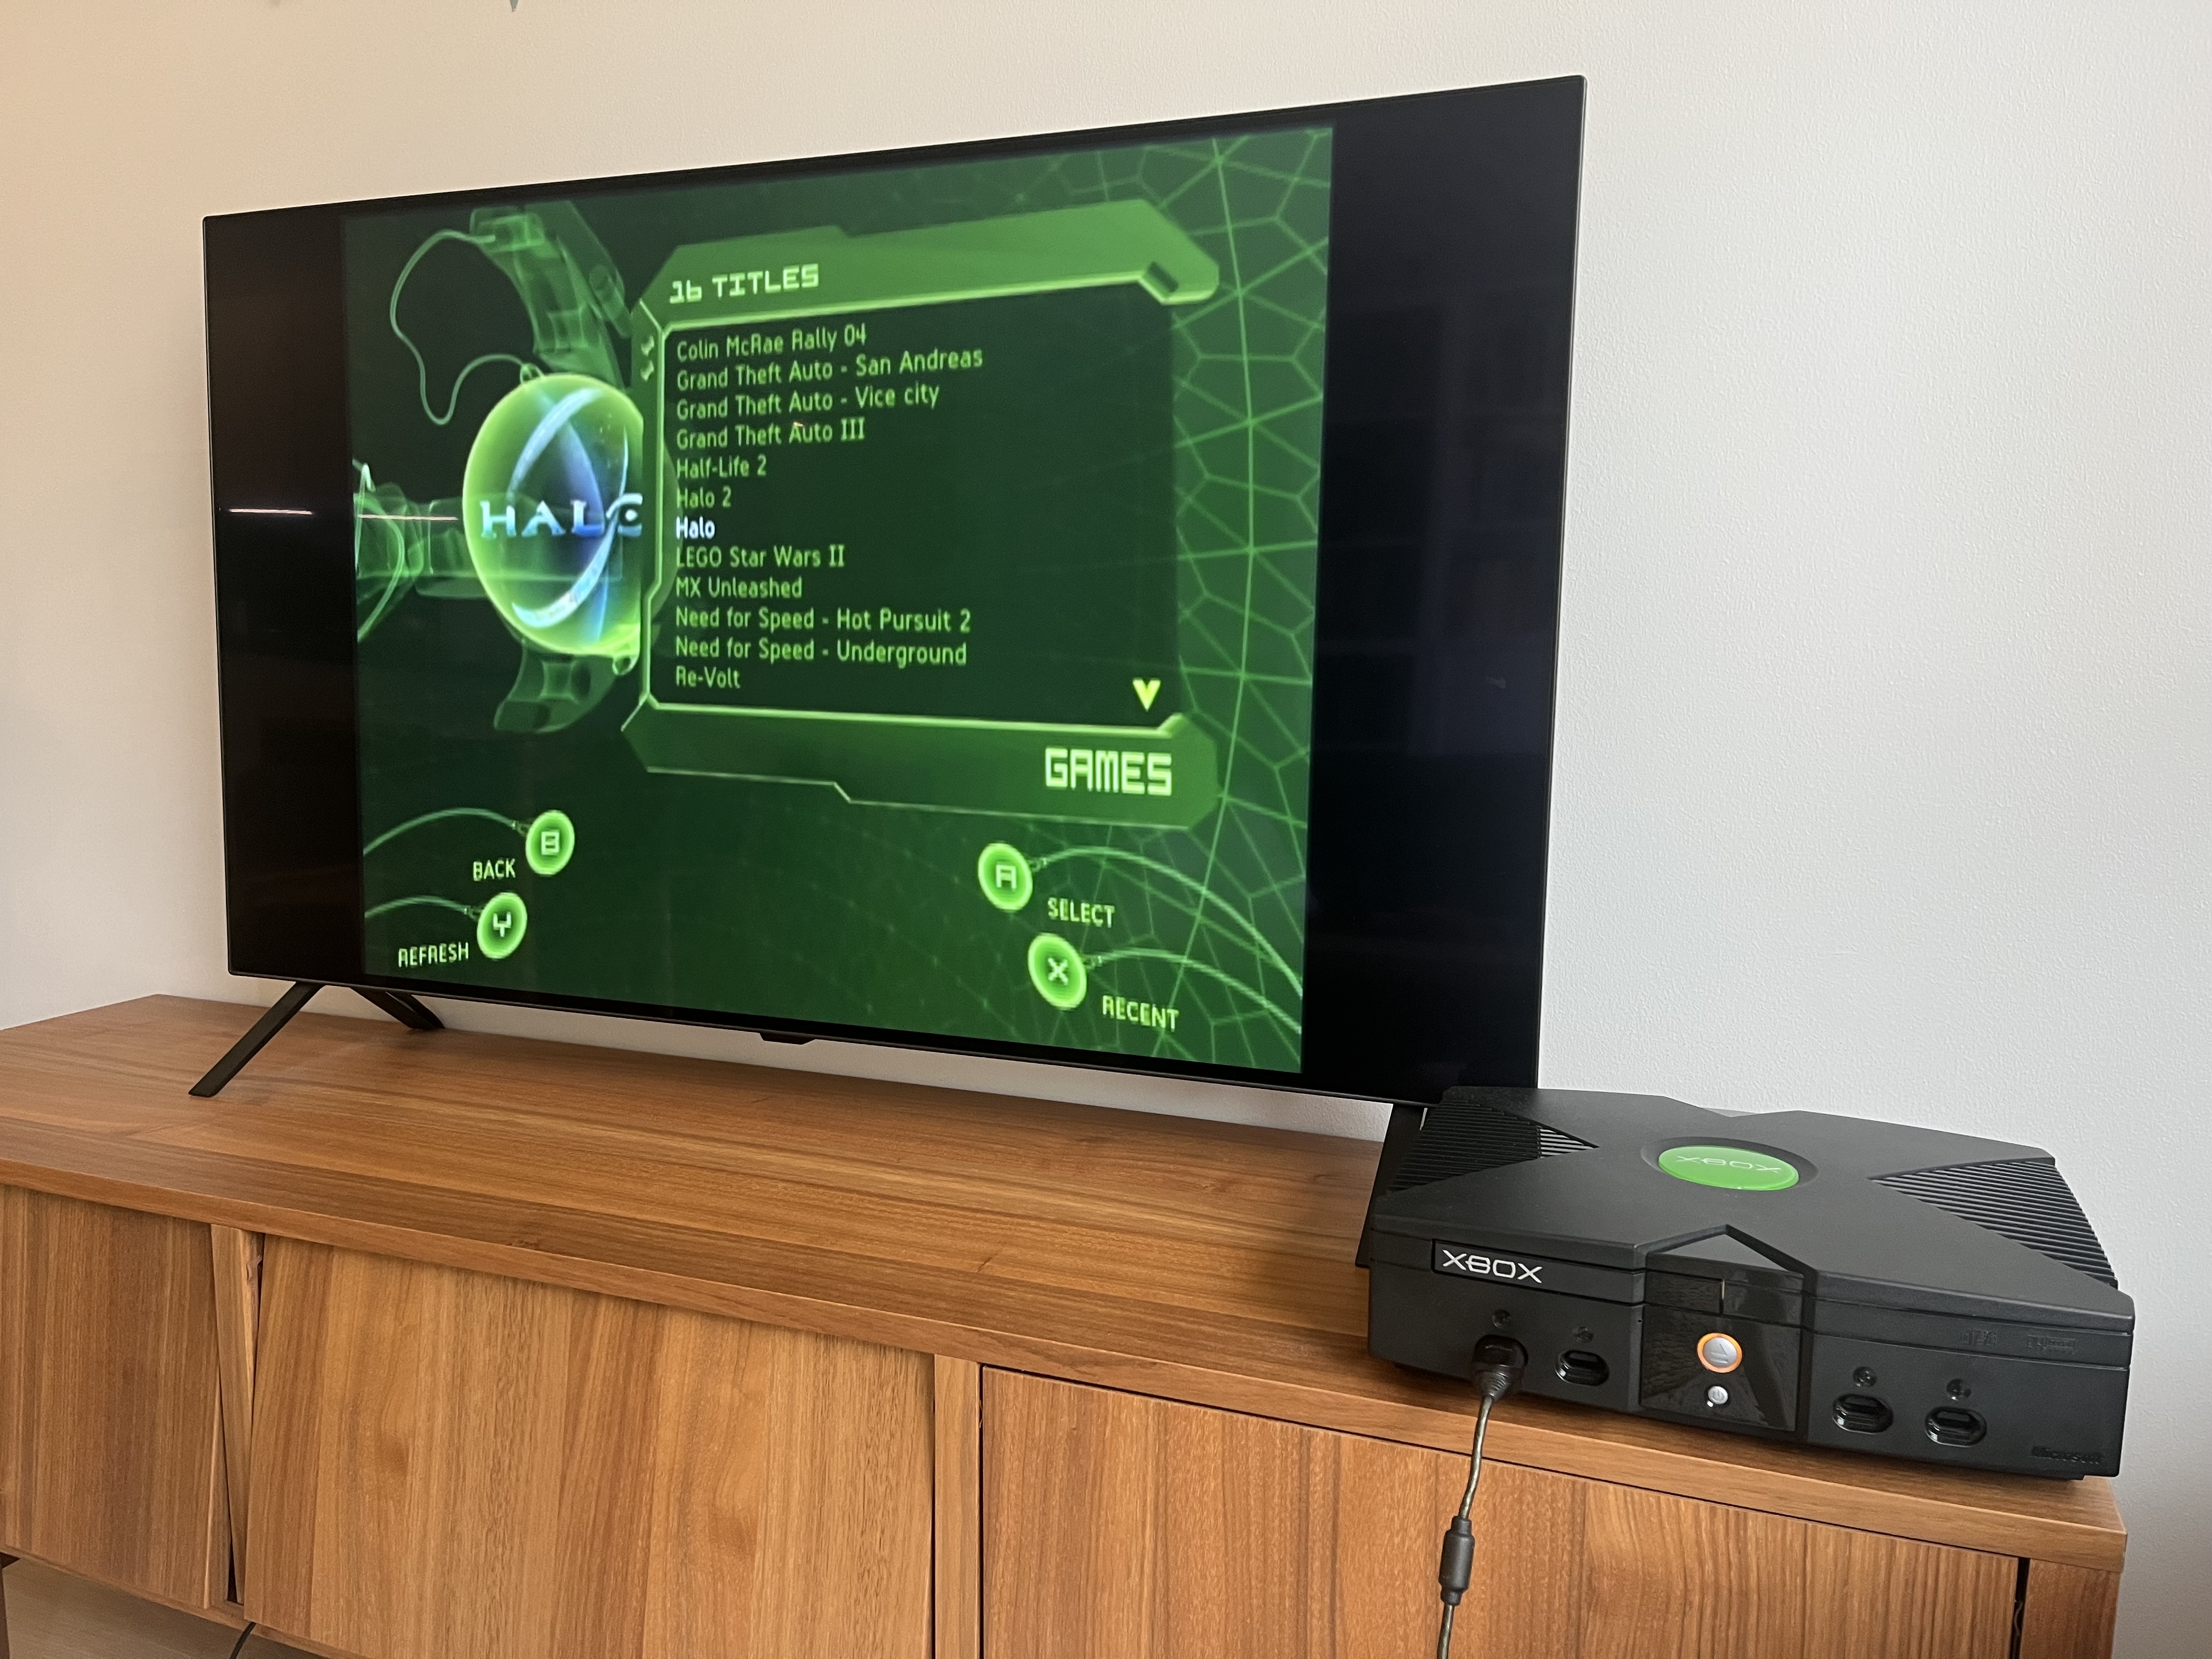
With the UIX-Lite patch, I’m able to use the patched Microsoft dashboard for day-to-day operation, and UnleashX for maintenance.
Switching to UIX-Lite
Follow the How-to (Automagically) instructions to restore the Microsoft Dash 5960, and then patch it. You’ll end up with these two dashboards:
- Patched Microsoft Dash 5960:
C:\xboxdash.xbe - Patched 5960 - UnleashX:
C:\Dashboard\default.xbe, with files such as config.xml, items.xml, and a Skins folder.
Making UIX-Lite the Default
- Copy everything in
C:\Dashboard\toE:\Dashboards\UnleashX - Use File Explorer in UnleashX to boot the patched Microsoft Dash 5960.
- Make sure Microsoft Dash 5960 starts, and that you can run UnleashX from
E:\Dashboards\UnleashXfrom it. - Use Dashloader Customizer to make the Patched Microsoft Dash 5960 boot by default, it’s at
C:\xboxdash.xbe - Test to make sure that Patched Microsoft Dash 5960 boots up by default.
- Delete the old copy of UnleashX that’s in
C:\Dashboard\to clean it up.
Now, UIX-Lite (e.g. the Patched Microsoft Dash 5960) will boot by default, but you can go to Launcher > Dashboards > UnleashX to launch UnleashX if you need it.
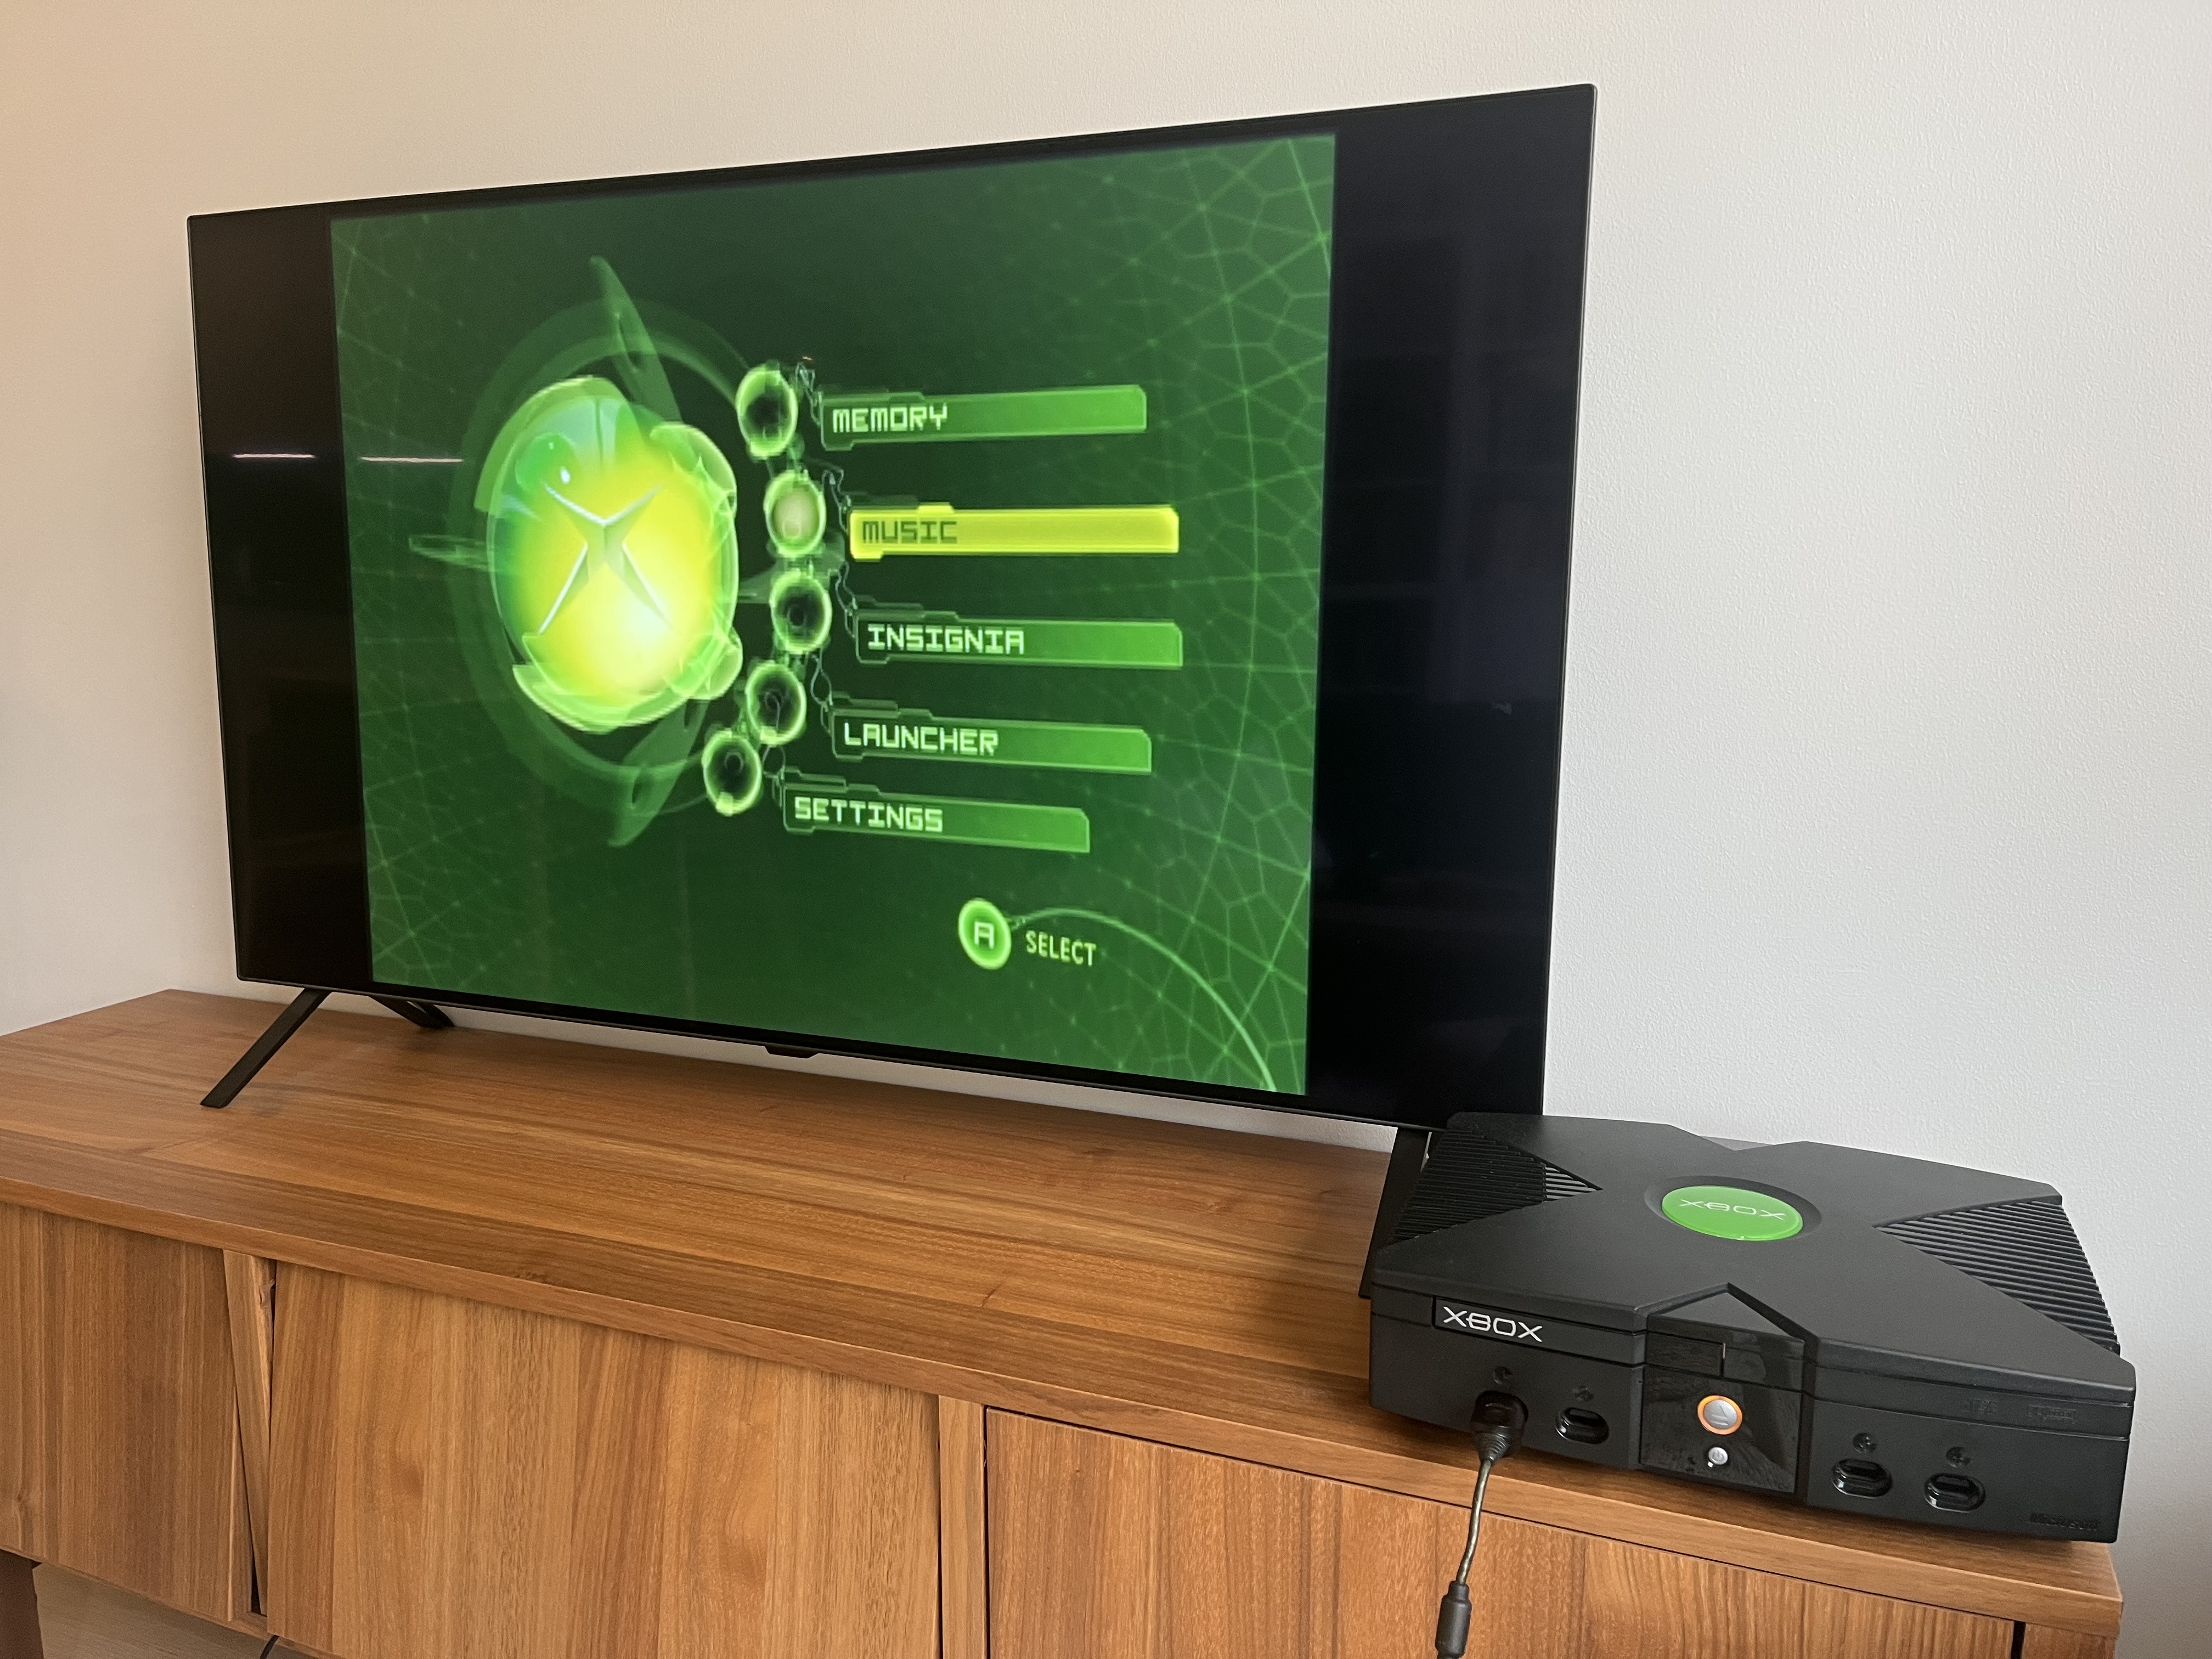
Hard Drive Upgrade
I elected to upgrade my stock 8 GB hard drive to a 256 GB SSD, because:
- The original hard drive is now 25 years old and is likely to fail any day now.
- My collection of NTSC Xbox games is in storage in the US, so I’d like to run backups directly from storage.
Hardware
- A SATA hard drive or SSD. I went for a 256 GB Kingston SSD, as I can probably put 50 games on it (but I won’t, it will be more like 15)
- An IDE to SATA adapter, and some way to power two IDE devices at the same time (like a Y cable, if needed).
- An 80-wire IDE cable, as the stock 40-wire cable doesn’t let the IDE bus go fast enough for things to work. Remember that both of them have 40 pins, but the 80-wire cable has a dedicated ground wire for each signal wire, reducing noise and unlocking higher speeds.
IDE to SATA Adapter
AliExpress Adapter
Initially, I used this inexpensive no-name from AliExpress, which had reviews saying that it worked for the Original Xbox. I bought it along with a Y cable to simultaneously power the old hard drive and new SSD. Unfortunately, the IDE controller seemed to struggle to enumerate the adapter, as the console hung on the “Xbox” logo for a long time on each boot. After awhile the console will either Error 07 (hard drive discovery timed out), or the “Microsoft” logo will appear and continue to boot.
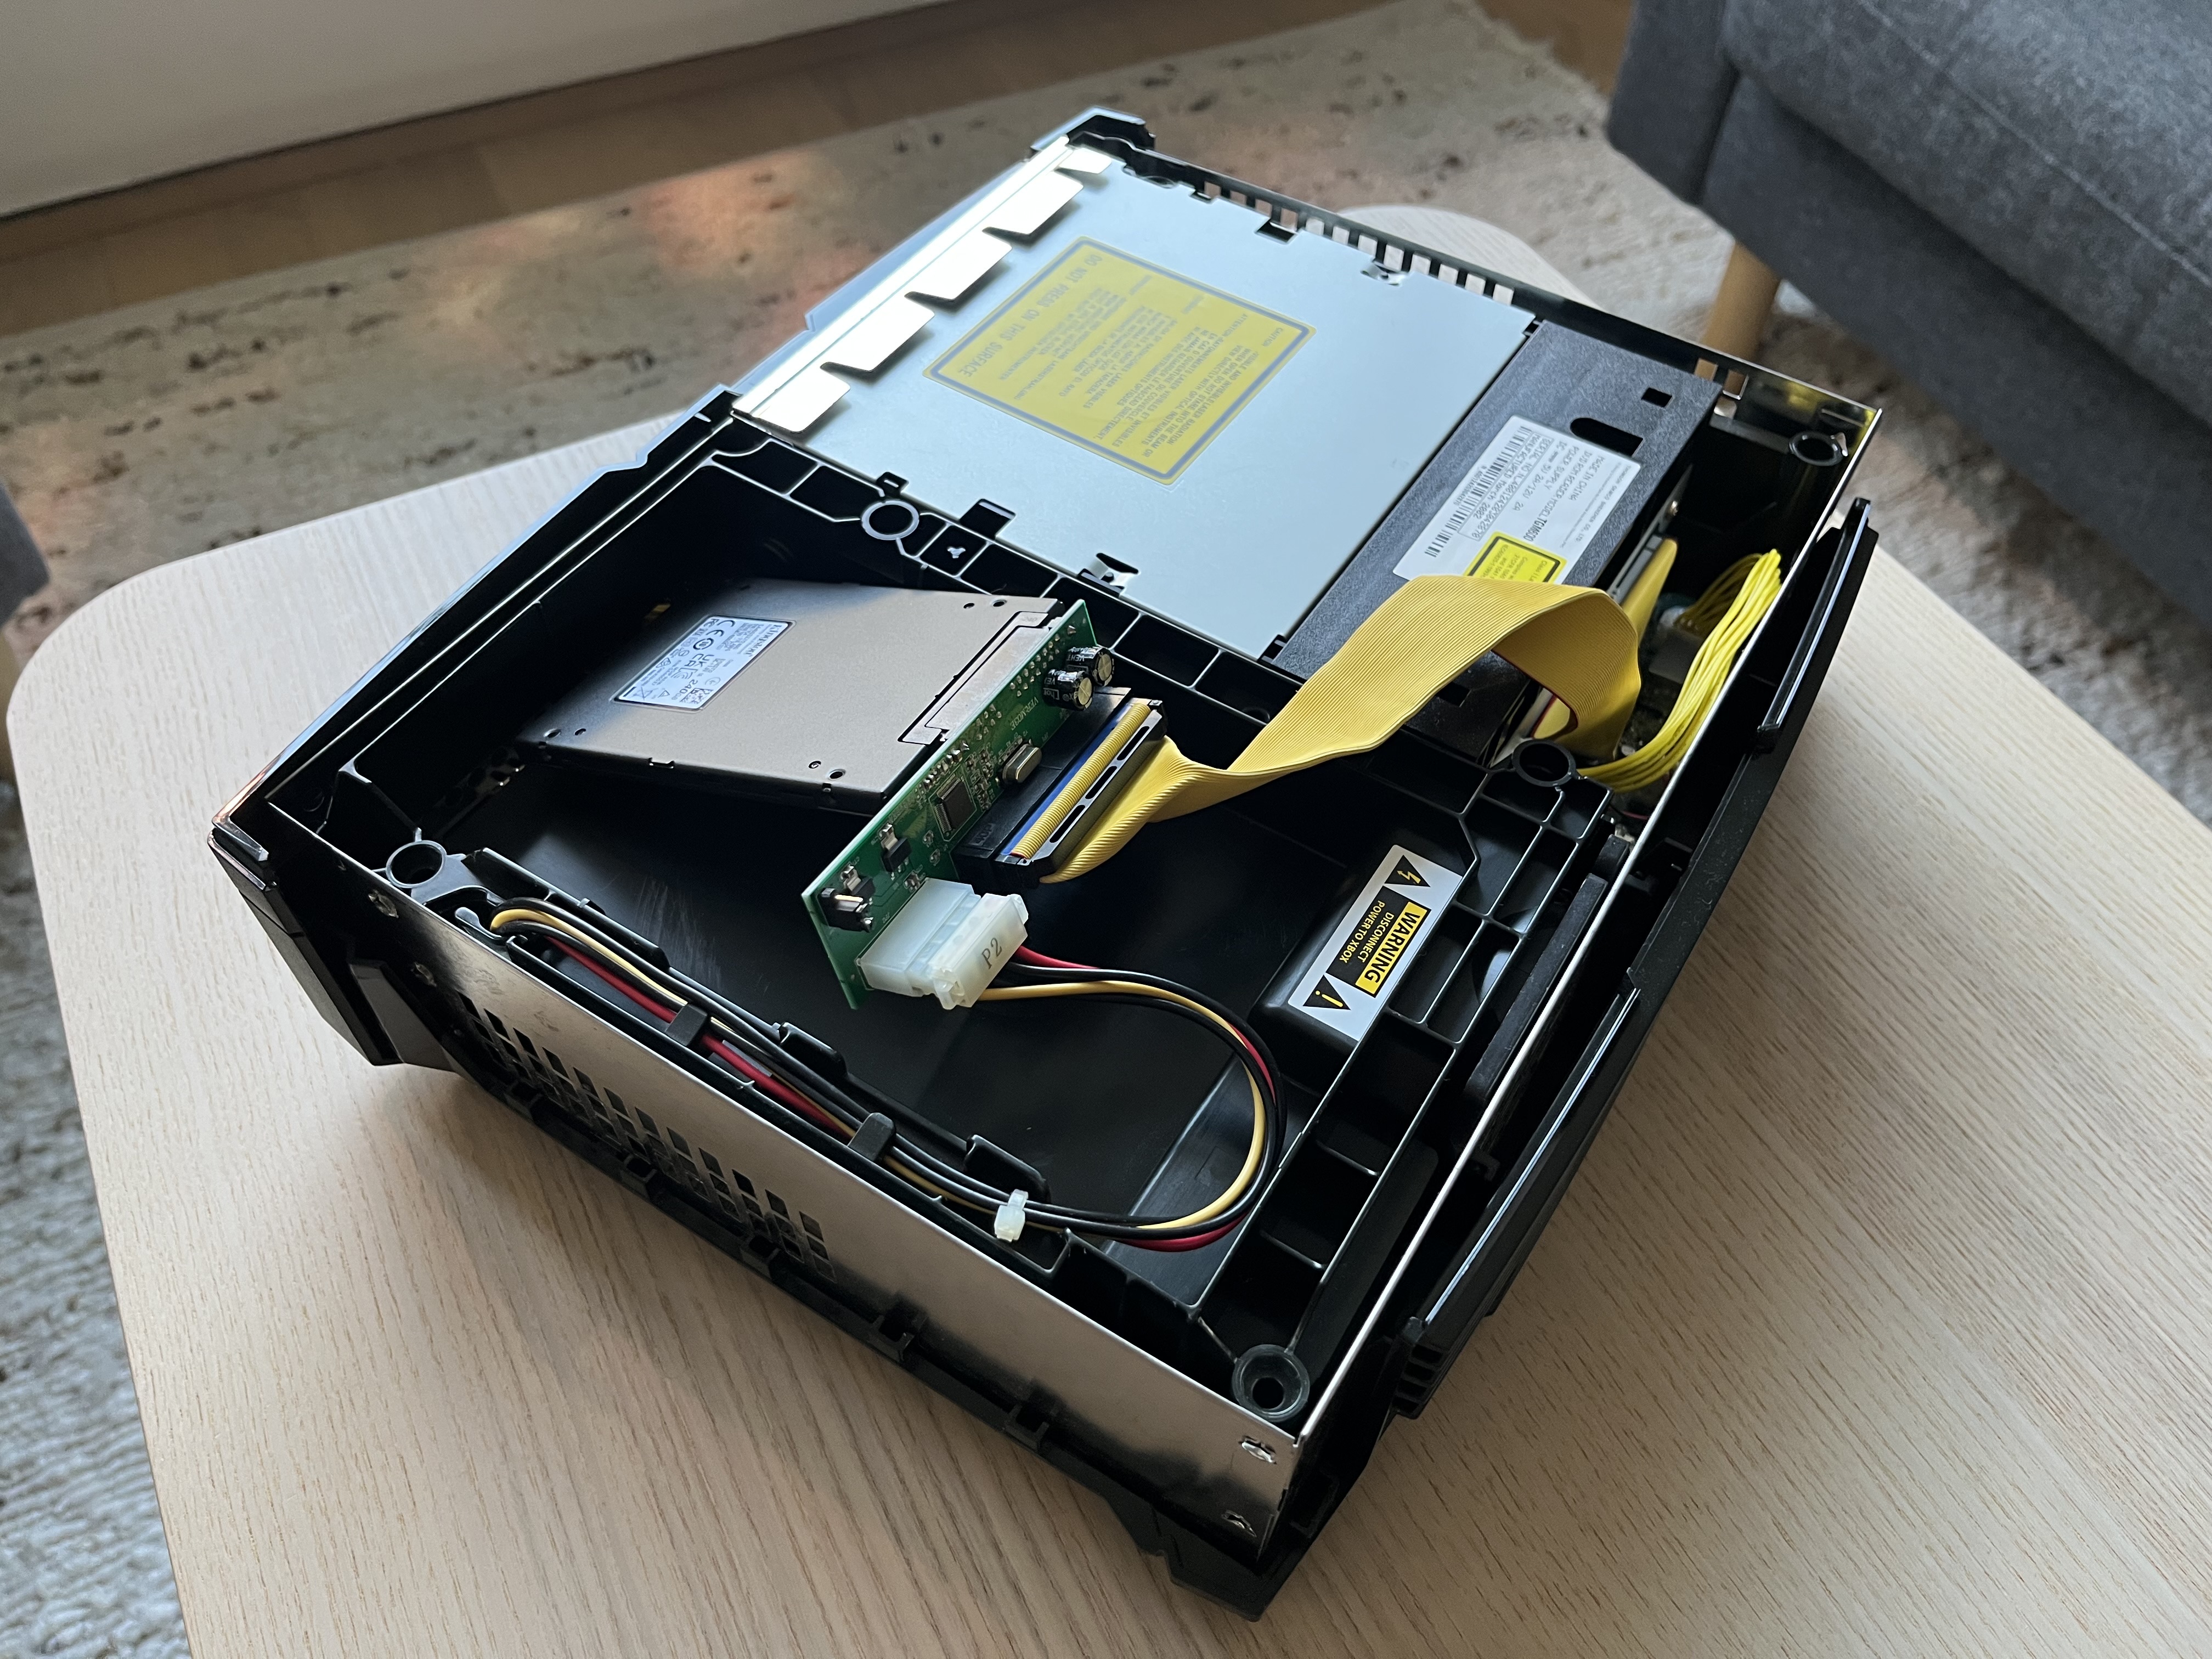
StarTech Adapter
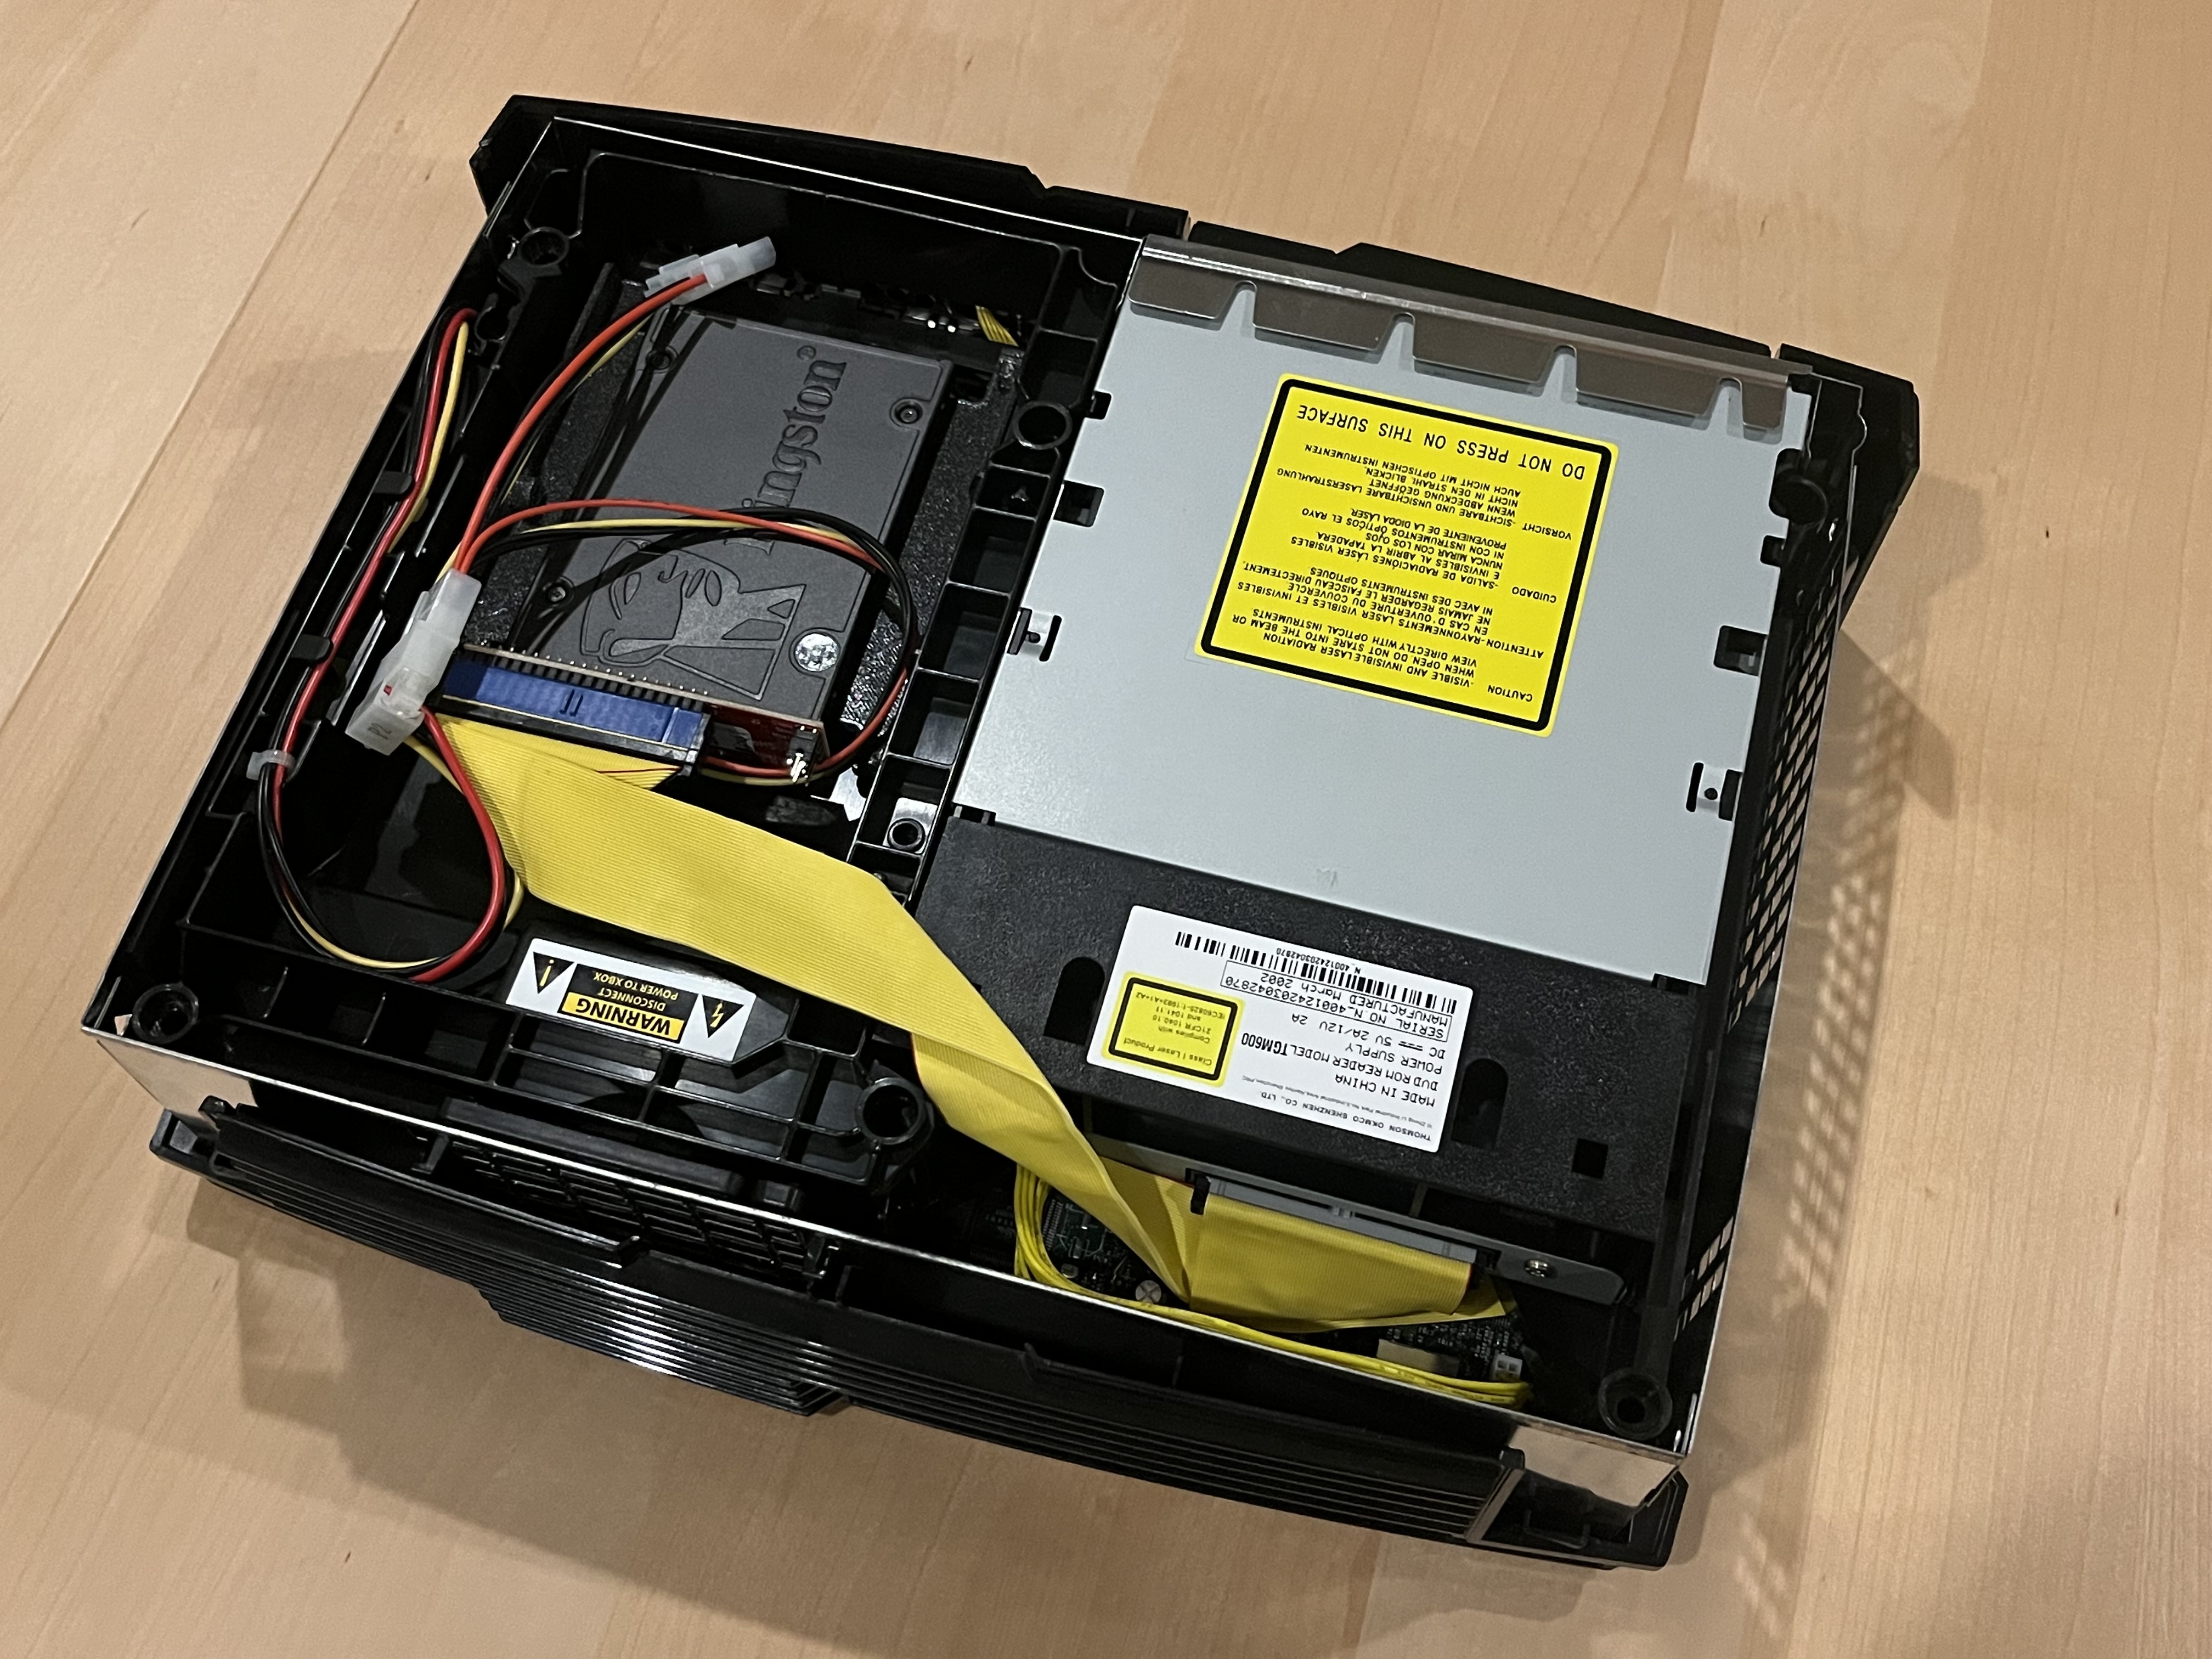
I then ordered the famous red StarTech adapter, which is known to work (and is also known to work with Todd Gill’s 2.5” hard drive mounting bracket). It also includes a pass-through power cable, so you don’t need a Y adapter to power two drives.
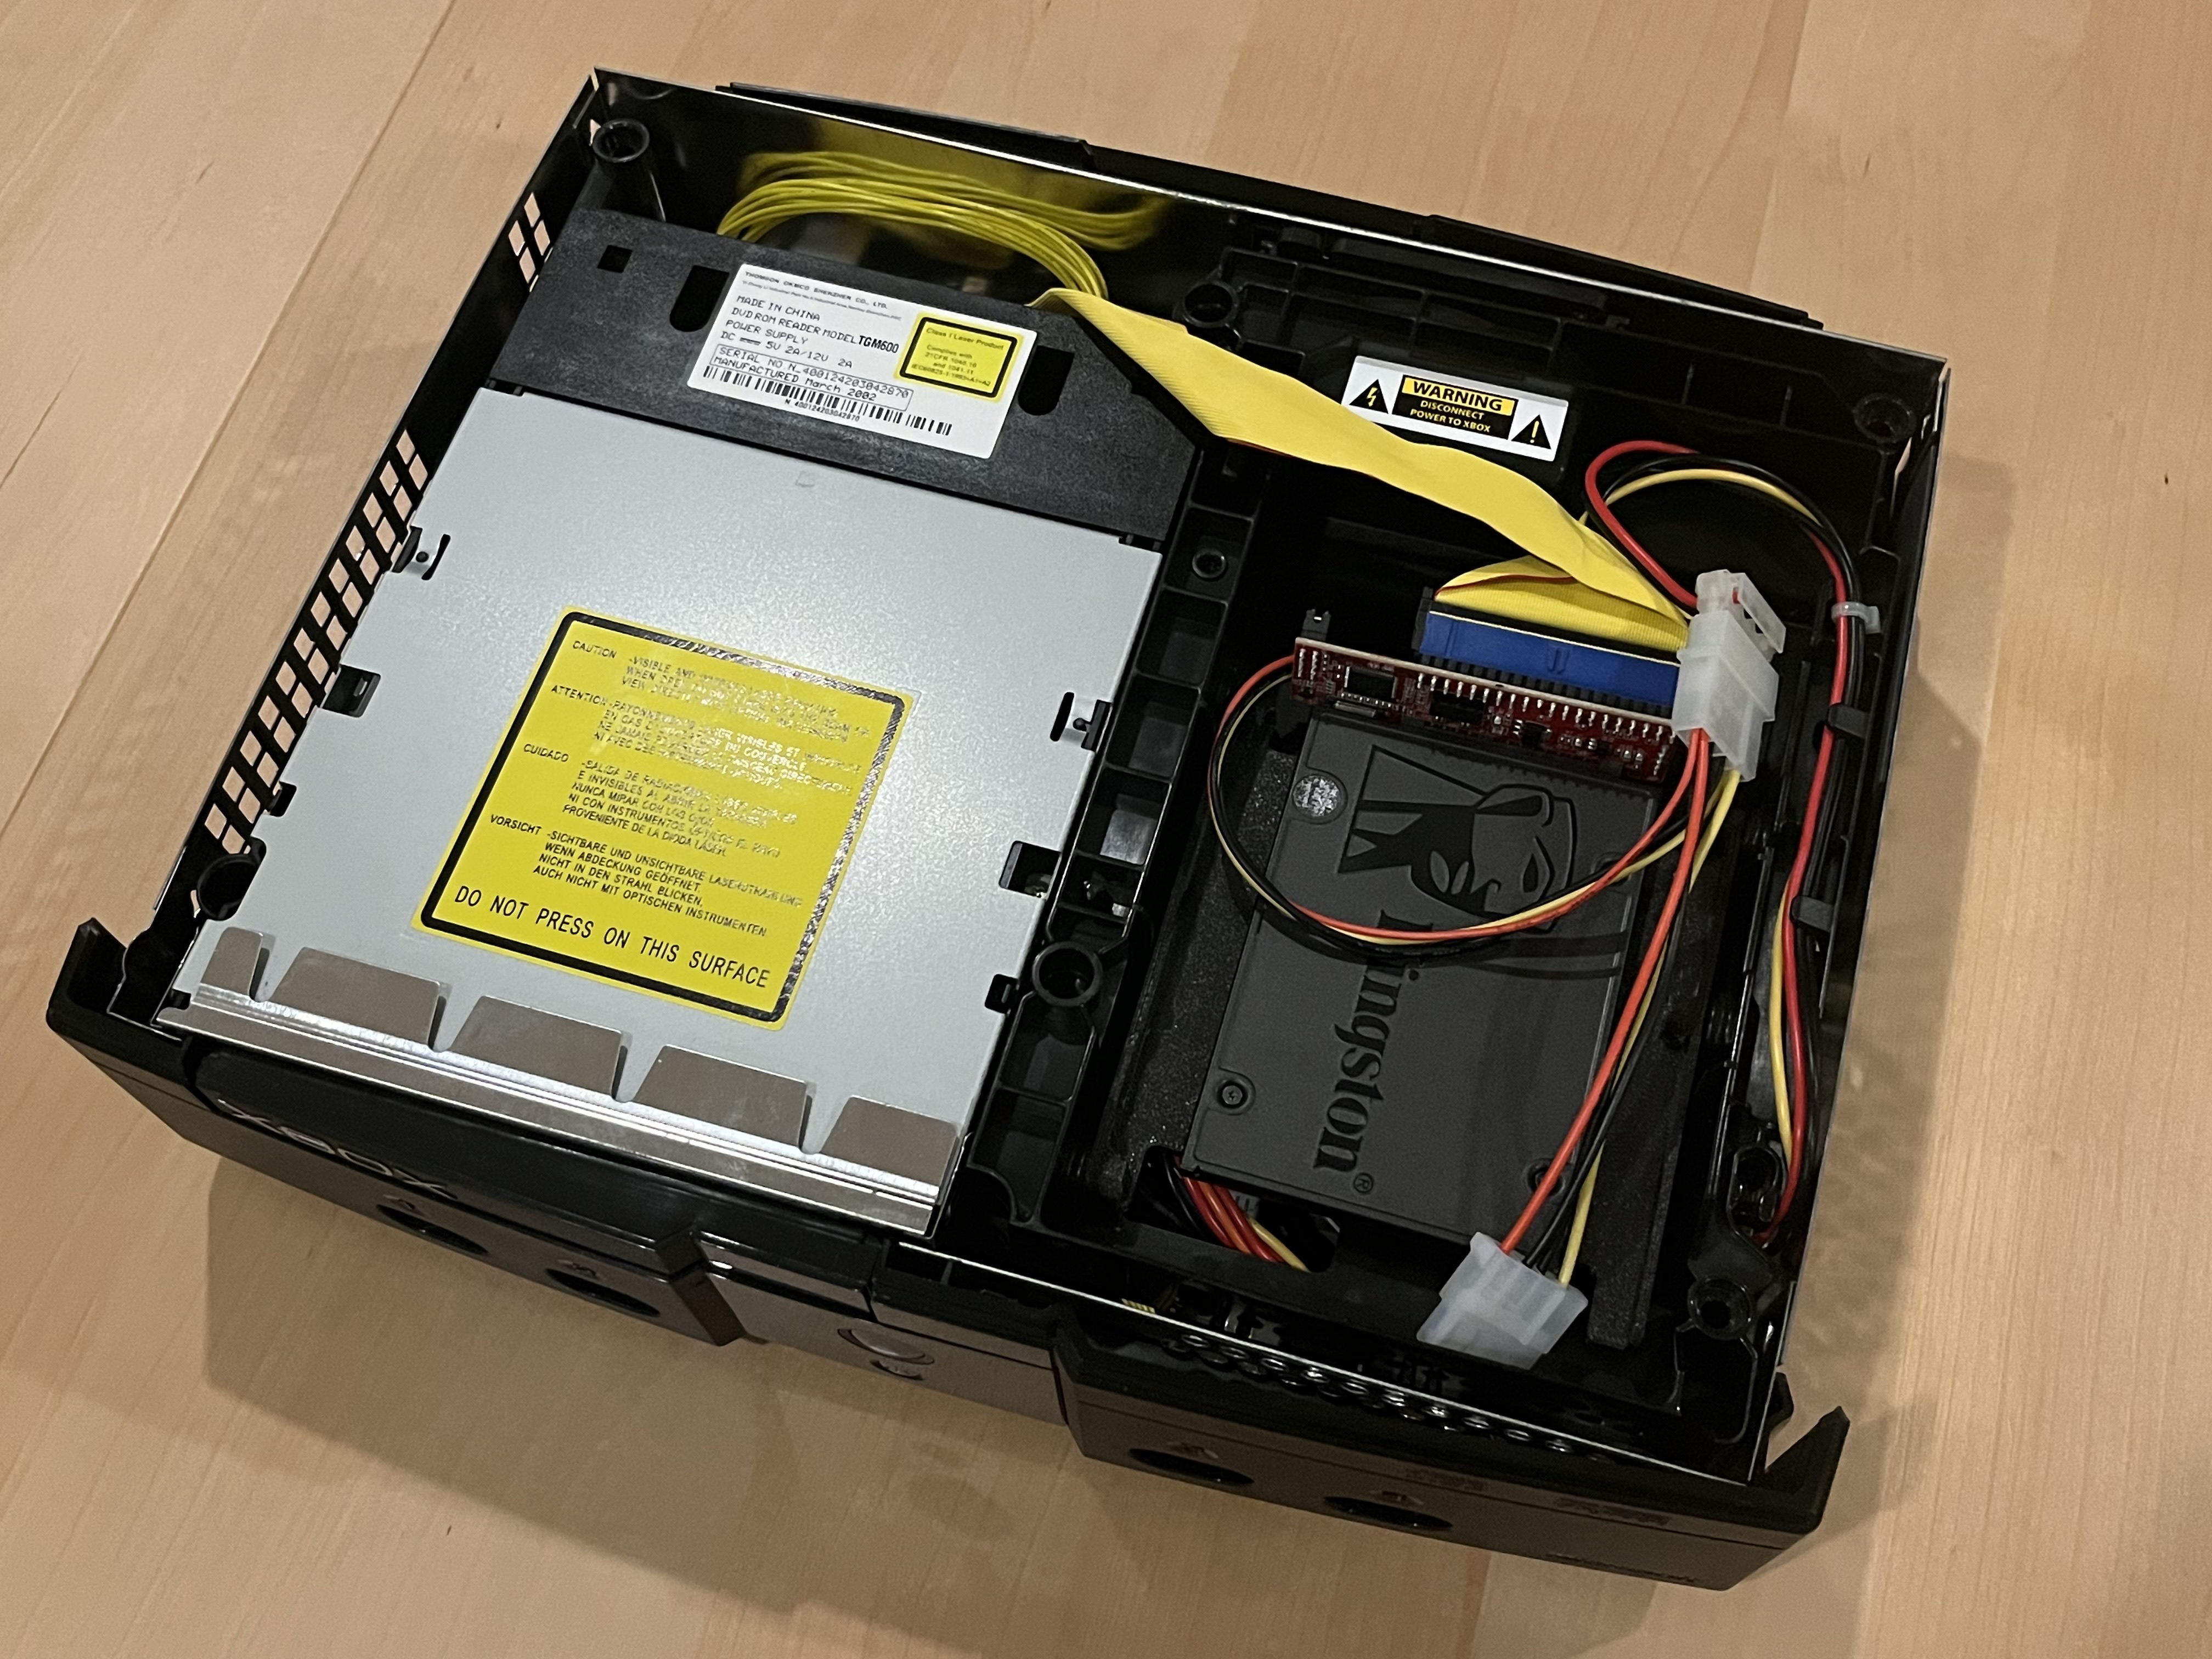
At first, it wasn’t plug-and-play. I got an instant “flubber” and Microsoft logo on boot, but then an intermittent black screen. But then, I noticed that pressing the Eject button always started my dashboard. The fix was to use NKPatcher to install a specific Kernel Font. As it turns out, the exploit is triggered with a literal text font, with different fonts available for different Xbox revisions.
To switch from a generic kernel font to a specific one:
- Launch NKPatcher Settings.
- Go to Kernel Fonts > Advanced Features > Kernel Font Options > Install Kernel Font.
80-wire IDE Cable
This one has proven to be a real pain, as the 37 cm one I could get on AliExpress is just plain too short.
This folding guide is extremely helpful, though. Combined with the StarTech adapter and Todd’s mounting bracket, it ended up being barely long enough.
Miscellaneous
Replacement Thumbsticks
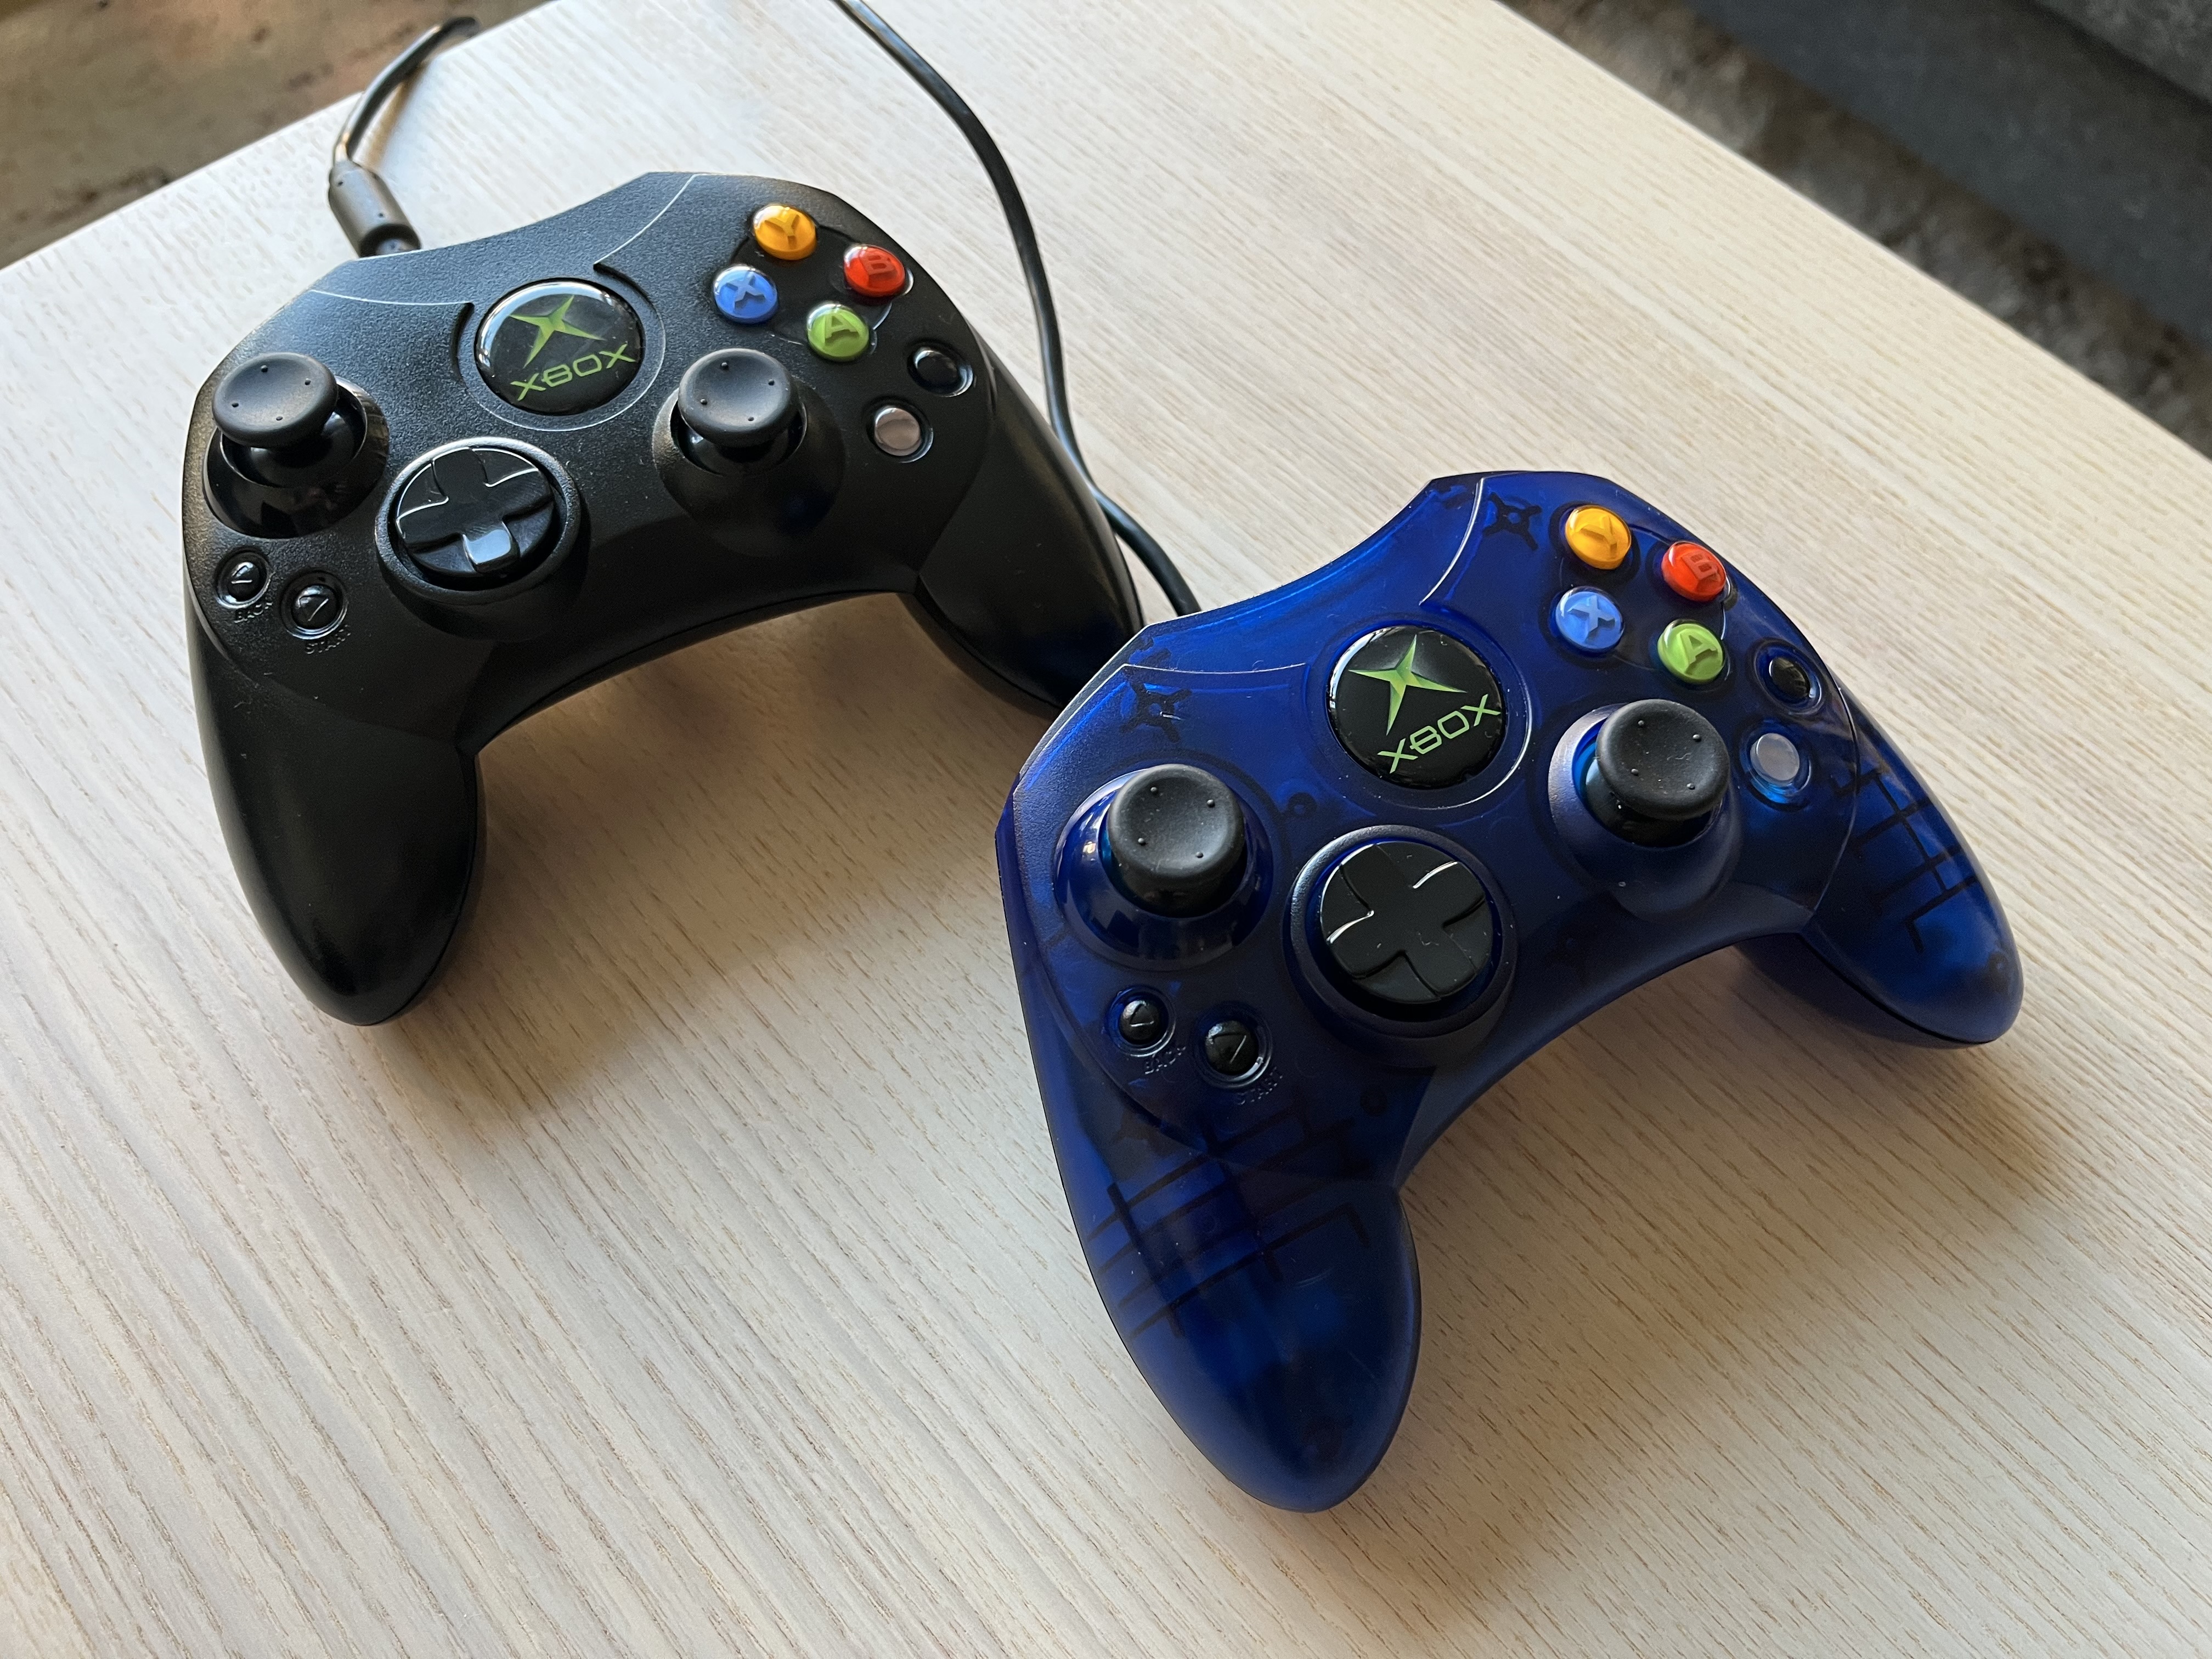
It turns out that Xbox 360 thumbsticks make drop-in replacement for the Original Xbox S controller (and The Duke as well). I grabbed a package from AliExpress and while they aren’t quite as soft as I remember Xbox 360 thumbsticks being, they are much better than the worn-out originals on my Xbox S controllers.
I also found this Xbox Series X/S thumbstick adapter on Printables, but I couldn’t figure out how it is supposed to work with my Xbox S controllers or Series X/S thumbsticks from AliExpress.
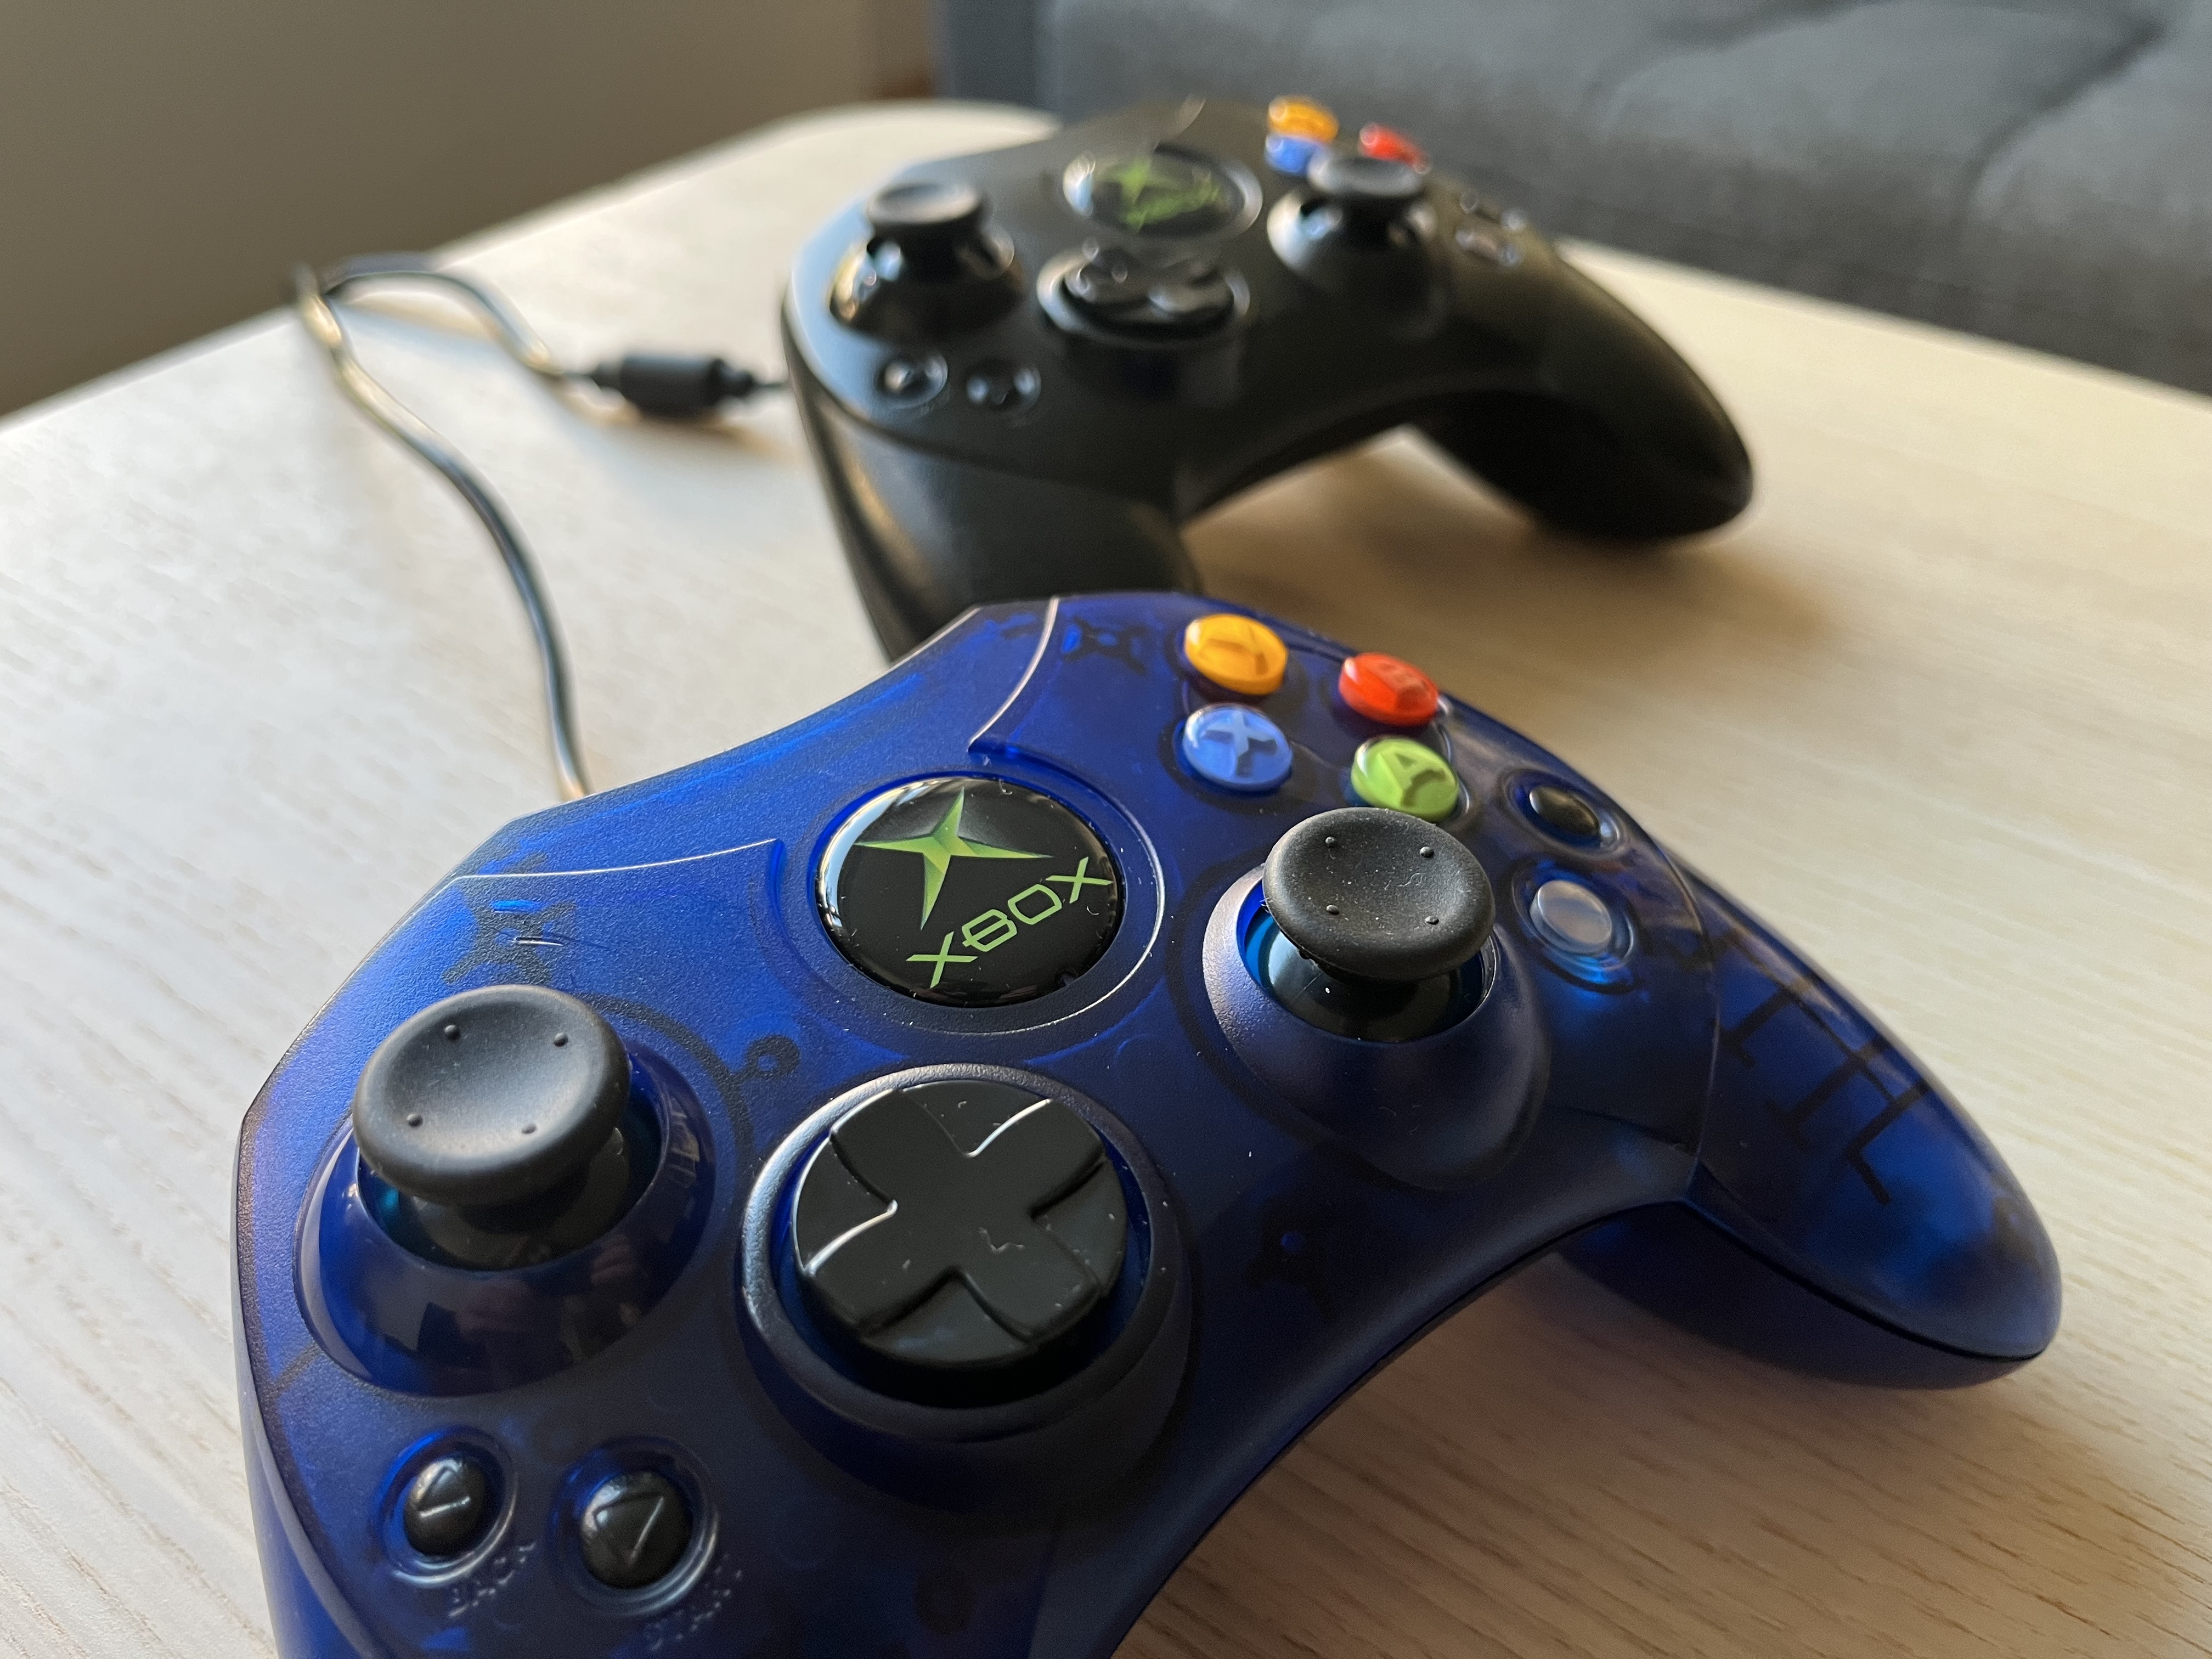
When disasembling your controllers:
- Look for white circles on the controller PCBs. Keep the wires out of those circles, as the controller plastics touch the PCB at those locations to keep things solid. It’s easy to accidentally pinch wires there.
- When putting screws back in, turn them backwards with a bit of pressure until you hear and feel the screw “click”. Then, turn the screw the right way. This will align the threads.
- Tighten the screw.
Converting ISO or XISO
If your backups are in ISO or XISO format, you’ll need to unpackage them and copy them to the Xbox with FTP. The easiest method I’ve found is with with xdvdfs-web, which runs out of a browser.
- Download and put it in a folder.
cdto the folder, and runpython3 -m http.server- Navigate to http://127.0.0.1:8000/.
- Use the Unpack option.